Creating a Successful Home Listing for Swappers
SwappaHome Editorial Team
Home Exchange & Slow Travel Editorial
Creating a Successful Home Listing for Swappers !Woman photographing house exterior for listing > TL;DR: > > - Creating a successful home listing...
Creating a Successful Home Listing for Swappers
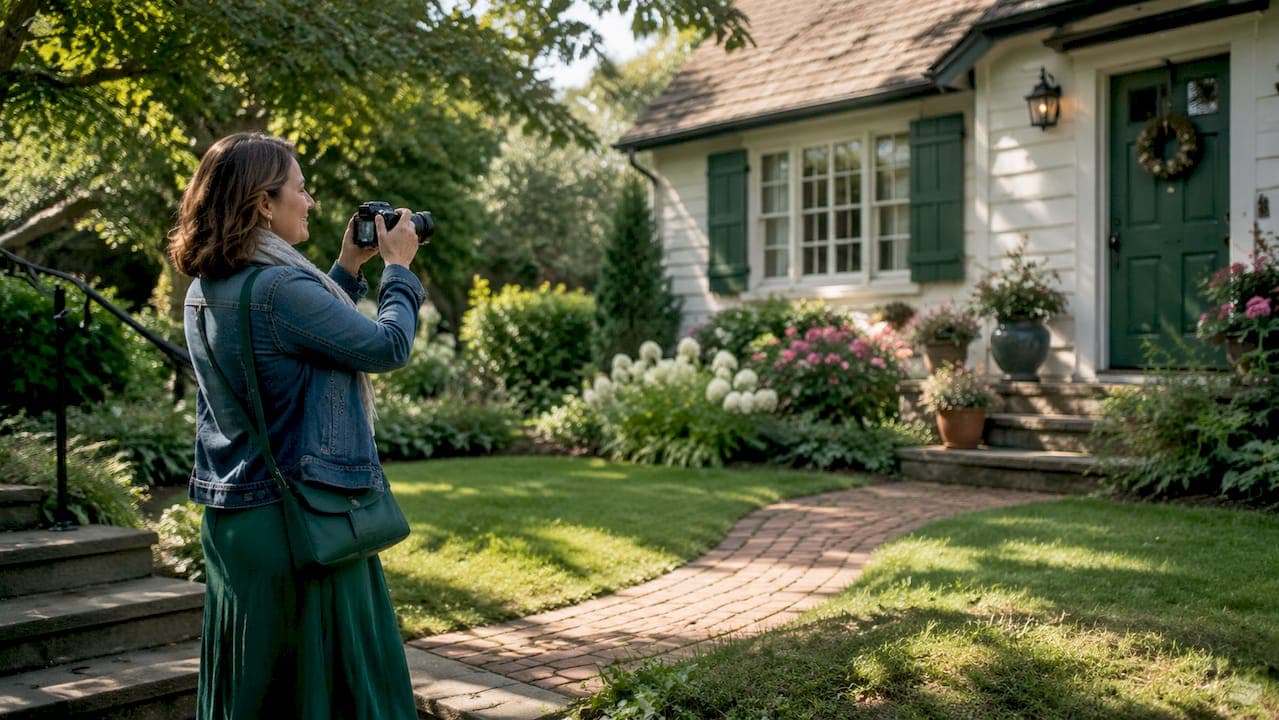
 Woman photographing house exterior for listing
TL;DR:
- Creating a successful home listing relies on accurate pricing, compelling visuals, and lifestyle-focused descriptions to attract inquiries. Properly launching the listing in phases, supported by professional photos and videos, boosts engagement early in the process. Attention to detail and consistent monitoring are key to maximizing visibility and securing desired swap or sale requests.
Creating a successful home listing is defined as the combination of accurate pricing, professional visuals, compelling descriptions, and targeted marketing that converts browsers into serious inquiries. For homeowners on platforms like Swappahome, Zillow, and MLS networks, this process follows a predictable structure: a 60–90 day total timeline from preparation through closing, with the first week of visibility carrying the most weight. Your listing either stops a potential swapper mid-scroll or gets skipped entirely. The strategies below tell you exactly how to make it stop them.
How do you set the right price to attract swappers and buyers?
Pricing is the single most powerful variable in your listing's performance. Listings priced correctly from day one generate stronger initial interest and competitive offers within the first week. Price too high and you train the market to ignore you. Price too low and you leave value on the table before negotiations even begin.
 Hands calculating home listing price on desk
The most common mistake homeowners make is confusing edge pricing with smart pricing. Round-number pricing places your listing inside broader buyer search pools. Setting your home at $400,000 instead of $399,990 means you appear in searches for buyers browsing the $400,000 bracket, not just those filtering below it. Edge pricing sounds clever but often excludes you from the most active search categories.
A Comparative Market Analysis, or CMA, is the standard tool for setting an accurate price. A CMA compares your property against recently closed sales in your area, adjusting for square footage, condition, and features. Real estate agents provide CMAs at no charge, and digital tools like Redfin's Estimate or Zillow's Zestimate offer a free starting point for independent research.
For home swappers and rental hosts, pricing works differently. You are not setting a sale price. You are communicating value relative to comparable stays in your area. Research what similar properties charge per night on short-term rental platforms, then position your listing to reflect that value clearly in your description.
- Use a CMA or comparable rental data before setting any price
- Price in round increments to maximize search filter visibility
- Revisit your pricing after 7 days if engagement is low
- For swap listings, describe value in terms of location, amenities, and experience
Pro Tip: If you are listing on a home exchange platform like Swappahome, your "price" is your listing quality. A well-presented home in a desirable location earns more swap requests than a poorly photographed home in the same neighborhood.
What are the best visual content strategies for your listing?
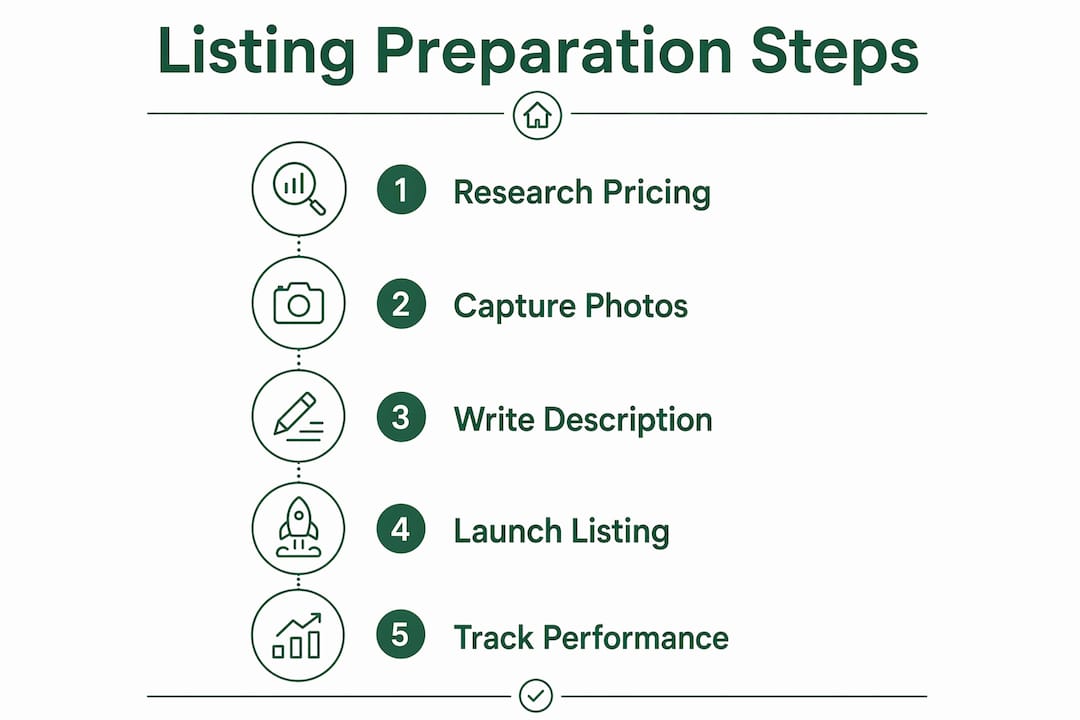 Infographic showing home listing preparation steps
Your hero image is the most important asset in your entire listing. Mobile-first photography with a standout hero image that passes a 15-second scroll test is the standard in 2026. That means your first photo must communicate the best feature of your home before a viewer's thumb moves on. A dusk exterior shot with warm interior lighting is the most consistently effective hero image type across property categories.
Listings with professionally shot video walkthroughs see 403% more inquiries than static-only listings. That number reflects a real behavioral shift. Buyers and swappers want to feel the flow of a home before they commit to a visit or a swap request. A 60–90 second walkthrough video, shot with a stabilized camera and natural light, delivers that experience at scale.
What your visual content package should include
| Visual Asset | Purpose | Priority |
|---|---|---|
| Hero exterior photo | First impression, stops the scroll | Critical |
| Interior room photos (8–15 shots) | Communicates space, light, and condition | Critical |
| Video walkthrough (60–90 seconds) | Emotional connection and spatial flow | High |
| Neighborhood or lifestyle shots | Sells the location, not just the property | Medium |
| Floor plan graphic | Answers spatial questions before a visit | Medium |
Staging is not about making your home look like a showroom. It is about removing friction. Clear countertops, neutral bedding, and good lighting help viewers project themselves into the space. The Swappahome photography guide recommends shooting during the golden hour for exterior shots and using natural light for interiors wherever possible.
Here is a practical sequence for preparing your visual content:
- Declutter and deep clean every room before any photos are taken
- Stage each room with a clear focal point (a reading chair, a set dining table, a made bed)
- Hire a real estate photographer or use a smartphone with a wide-angle lens attachment
- Shoot your hero image at dusk for exterior warmth
- Record a walkthrough video in one continuous take, moving room to room naturally
- Review all images on a mobile screen before publishing
Pro Tip: Natural light is free. Schedule your interior shoot between 10 a.m. and 2 p.m. when sunlight is brightest. Turn on all interior lights and open every blind. This single step eliminates the need for expensive lighting equipment.
How do you write listing descriptions that connect and convert?
A listing description that leads with features is a missed opportunity. Lifestyle storytelling in listing descriptions creates emotional connections that increase offer likelihood. The difference is the difference between "3 bedrooms, 2 bathrooms, updated kitchen" and "Wake up to mountain views from the primary suite, then take your coffee to the wraparound deck before the rest of the neighborhood stirs." Both describe the same home. Only one makes someone want to be there.
Structure your description in three layers. Open with a lifestyle hook that places the reader inside the experience of living in your home. Follow with the specific features that support that experience, using precise language. Close with a clear call to action that creates momentum, such as "Request a swap date" or "Schedule your private tour this week."
Power words that consistently perform in listing descriptions include: sun-drenched, private, walkable, chef-designed, original hardwood, and quiet street. These words are specific and sensory. They trigger mental images. Vague phrases like "cozy," "charming," or "must-see" have been overused to the point of invisibility.
- Open with a lifestyle hook, not a feature list
- Use specific, sensory language tied to real property details
- Name the neighborhood and nearby landmarks (coffee shops, parks, transit stops)
- Avoid misleading terms that create disappointment at viewing
- End with a direct call to action
Accuracy in your mandatory data fields matters as much as your prose. MLS and platform search filters rely on bedroom count, square footage, and amenity tags to surface your listing to the right audience. A missing amenity tag or an incorrect bedroom count can filter your listing out of searches entirely. Check every field before you publish.
Pro Tip: Read your description out loud before publishing. If it sounds like a brochure, rewrite it. If it sounds like you are describing your home to a friend, publish it.
What are the essential steps to launch your listing successfully?
A listing launch is not a single moment. It is a sequence. The standard preparation-to-closing timeline runs 60–90 days total, with 2–4 weeks of preparation before your listing goes live. Use that preparation window to build momentum, not just fix things.
The pre-market phase is one of the most underused tools available to homeowners. Zillow Preview is not a test run. It is a strategic pre-market phase that delivers real logged views, saves, and tour requests before your MLS launch date. Buyers who save a listing during the preview phase are already warm when you go live. That translates directly into faster offers and stronger opening-week engagement.
For homeowners who want broad market reach without paying a full agent commission, flat-fee MLS listing costs $100–$500 and syndicates your property to Zillow, Realtor.com, Trulia, and hundreds of regional portals automatically. That reach would otherwise require a traditional agent charging 2.5%–3% of your sale price.
- Week 1–2: Complete repairs, staging, and professional photography
- Week 3: Launch pre-market preview on Zillow Preview or agent network
- Week 4: Go live on MLS and all syndicated platforms simultaneously
- Week 5 onward: Monitor views, saves, and inquiry rates daily
- Day 7 check: If engagement is low, review pricing and hero image first
For home swap hosts, synchronize your Swappahome listing launch with your social media presence. Post your hero image and a short video clip to Instagram or Facebook on the same day your listing goes live. This creates a trust-building moment in your personal network and drives early traffic to your listing profile.
Pro Tip: Track your listing's performance metrics weekly. Views without inquiries usually signal a pricing or photography problem. Inquiries without conversions usually signal a description or trust problem. Each metric points to a specific fix.
Key takeaways
Creating a successful home listing requires accurate pricing, professional visuals, lifestyle-driven descriptions, and a phased launch strategy executed in the right sequence.
| Point | Details |
|---|---|
| Price in round increments | Round-number pricing places your listing in broader search filter pools and avoids invisibility. |
| Lead with a hero image | A mobile-optimized exterior shot at dusk is the most effective attention anchor for any listing. |
| Use video walkthroughs | Professionally shot video generates 403% more inquiries than photo-only listings. |
| Write lifestyle descriptions | Open with an emotional hook, then support it with specific, sensory property details. |
| Launch in phases | Use a pre-market preview period to build demand before your MLS or platform go-live date. |
What I have learned after years of watching listings succeed and fail
Most listing failures are not marketing failures. They are preparation failures that show up as marketing problems. A home that is priced wrong, photographed poorly, or described vaguely will underperform no matter how many platforms it appears on. The platform is not the problem. The listing is.
The homeowners I have seen succeed fastest share one habit: they treat their listing like a product launch, not a paperwork exercise. They invest in photography before they invest in advertising. They write their description three times before they publish it once. They check their engagement metrics every morning during the first week and adjust quickly when something is not working.
The rise of flat-fee MLS services and platforms like Swappahome has genuinely changed what is possible for independent homeowners. You no longer need a traditional agent to get broad market exposure. What you do need is the discipline to execute each step correctly, in order, without cutting corners on the parts that matter most.
For home swappers specifically, the listing is your first conversation with a potential guest. It tells them whether you are the kind of host who pays attention to detail. A well-prepared listing on Swappahome does not just attract more swap requests. It attracts better ones, from guests who already trust you before they arrive.
— Swappa
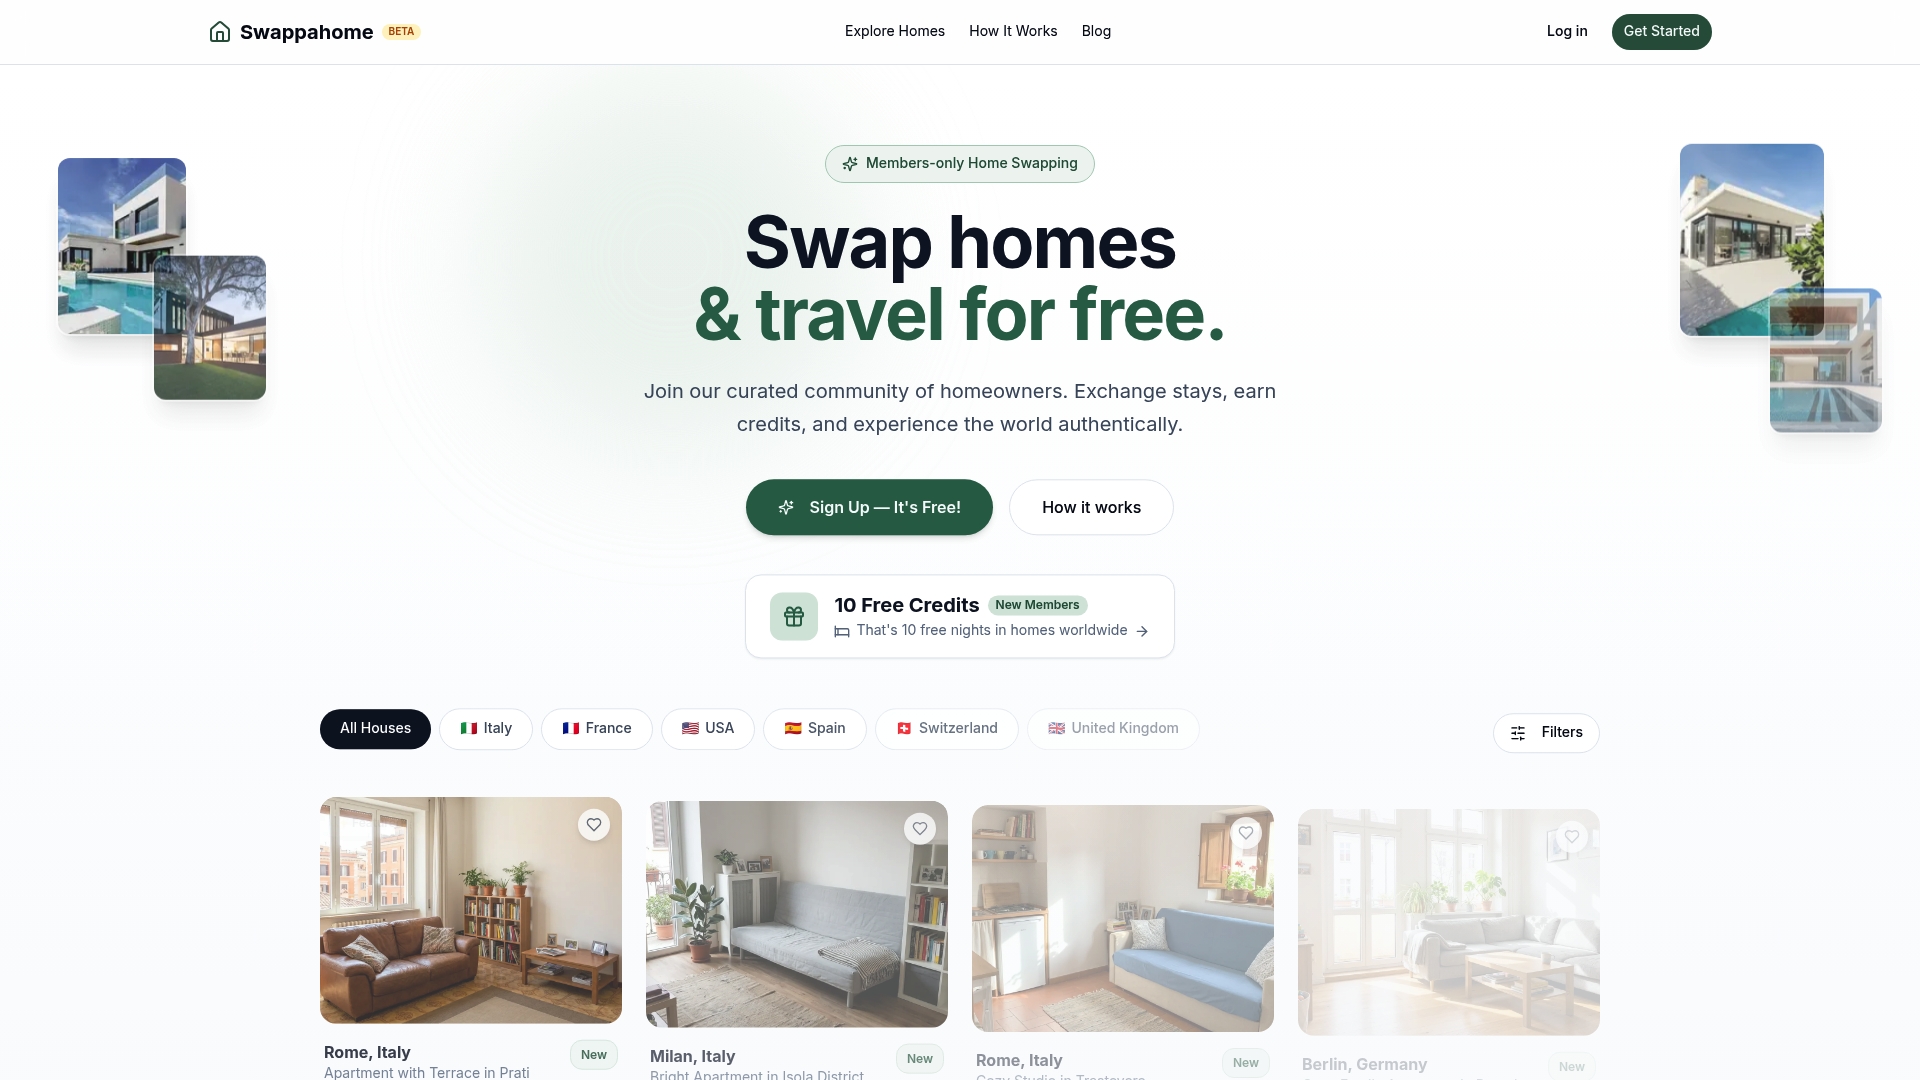
List your home on Swappahome and reach the right audience
Swappahome makes the process of creating and managing a home listing straightforward for homeowners who want real results without the complexity of traditional real estate marketing.
 https://swappahome.com
When you list your home on Swappahome, you get immediate access to a verified community of homeowners actively looking for swap opportunities across dozens of countries. The platform guides you through every step, from uploading your photos to writing your description, with built-in tools designed for hosts at every experience level. New members receive free credits to start booking stays right away. If you are ready to put your home in front of the right audience, browse active listings to see how top hosts present their properties and get inspired before you publish your own.
FAQ
What makes a home listing successful?
A successful home listing combines accurate pricing, professional photography, a lifestyle-driven description, and a phased launch strategy. Listings priced correctly from day one and supported by a strong hero image consistently generate more inquiries in the first week.
How many photos should a home listing include?
Most effective listings include 8–15 interior and exterior photos plus a short video walkthrough. The hero image, typically a dusk exterior shot, carries the most weight in capturing attention on mobile devices.
What is flat-fee MLS listing and is it worth it?
Flat-fee MLS listing costs $100–$500 and syndicates your property to major portals like Zillow and Realtor.com without requiring a full agent commission. For FSBO homeowners, it is one of the most cost-effective ways to achieve broad market reach.
How long does it take to list and sell a home?
The standard timeline runs 60–90 days total, including 2–4 weeks of preparation, 20–45 days of active listing, and 30–45 days to close. Starting with professional photos and accurate pricing shortens the active listing phase significantly.
How do I write a listing description that attracts swap guests?
Lead with a lifestyle hook that places the reader inside the experience of staying in your home. Follow with specific amenities and neighborhood details, then close with a direct call to action like "Request your swap dates today."
Recommended

Published by
SwappaHome
SwappaHome Editorial Team
Home Exchange & Slow Travel Editorial
The SwappaHome Editorial Team brings together travel research, home-exchange community insights, and platform data to produce practical guides for first-time and experienced home swappers. Every article cites real platforms, current market rates, and verifiable city-level facts so readers can make informed decisions without guessing.
Ready to try home swapping?
Join SwappaHome and start traveling by exchanging homes. Get 7 free credits when you sign up!