
Visa for travel to United States: Requirements, application steps, and travel tips

SwappaHome Editorial Team
Home Exchange & Slow Travel Editorial
Key Takeaways A successful trip to the United States starts with identifying the right travel authorization and preparing consistent, truthful documentation.…
Key Takeaways
A successful trip to the United States starts with identifying the right travel authorization and preparing consistent, truthful documentation. Rules can vary by nationality, purpose, and length of stay, so check official sources before making firm plans.
- Citizens of eligible countries may travel under the Visa Waiver Program with approved ESTA authorization.
- Travelers who do not qualify for ESTA may need a visitor visa or another visa category.
- The DS-160, fee payment, scheduling steps, and interview should be completed carefully.
- A visa permits travel to a U.S. port of entry but does not guarantee admission.
- Keep your documents, itinerary, and travel plans consistent from application through arrival.
Determine whether you need a visa for travel to United States
The first question is whether your trip requires a visa or another form of authorization. Your passport nationality, reason for travel, and intended length of stay all matter, and even a valid authorization does not guarantee entry. Before booking nonrefundable arrangements, review the latest U.S. entry requirements and confirm how the rules apply to your circumstances.
Visa Waiver Program and ESTA eligibility
The Visa Waiver Program allows eligible nationals to travel to the United States for qualifying tourism or business visits without obtaining a visitor visa first. They must generally obtain approval through the Electronic System for Travel Authorization, known as ESTA, before boarding. Eligibility depends on the traveler’s nationality and personal circumstances, not simply on where the journey begins.
ESTA is a travel authorization, not a visa, and it is tied to the passport used in the application. Travelers should check the official application information, answer every question accurately, and allow time for a decision before departure. If the trip does not fit the program’s permitted purposes, a visa may be necessary instead.
When a visitor visa is required
A visitor visa is commonly needed when a traveler is not eligible for the Visa Waiver Program or when ESTA is unavailable for the planned journey. It may also be the appropriate route for a tourism or business visit that falls outside the program’s conditions. The application is assessed individually, so approval is never automatic.
A visa applicant should be ready to explain the purpose of the trip and show that the proposed visit is temporary. The consular officer may consider the overall circumstances rather than relying on one document. Clear, consistent information is more useful than a large folder of unrelated papers.
How nationality, travel purpose, and trip length affect eligibility
Nationality determines which travel programs and visa categories may be available, while the purpose of travel determines which category fits. A short holiday, a business meeting, a course of study, employment, and medical treatment can involve different rules. Trip length also matters because an authorization designed for a temporary visit may not cover a prolonged stay.
Make a simple outline of where you will go, what you will do, and how long you expect to remain. Then compare that plan with the requirements for the relevant authorization. If your itinerary includes several purposes, identify the principal one and investigate whether a different visa category is required.
Situations that can make you ineligible for ESTA
A traveler can be unable to use ESTA for reasons connected with nationality, travel history, answers on the application, or other immigration circumstances. Previous visa refusals, certain past travel, dual nationality, or inaccurate information may require closer review. The details are fact-specific, so an uncertain applicant should seek guidance from a U.S. embassy or consulate.
Do not submit a new authorization application simply by changing an answer that should remain true. False or incomplete information can create more serious problems than an ineligible application. When ESTA is not suitable, the visitor visa process may provide the correct path for requesting permission to travel.
Choose the right type of U.S. visa
Once you know a visa is needed, match the category to the actual activity planned in the United States. A visitor visa is not a substitute for authorization to work or study, and a short description such as “vacation” may hide several distinct activities. Choosing carefully at the start helps prevent delays and an application that does not fit the trip.
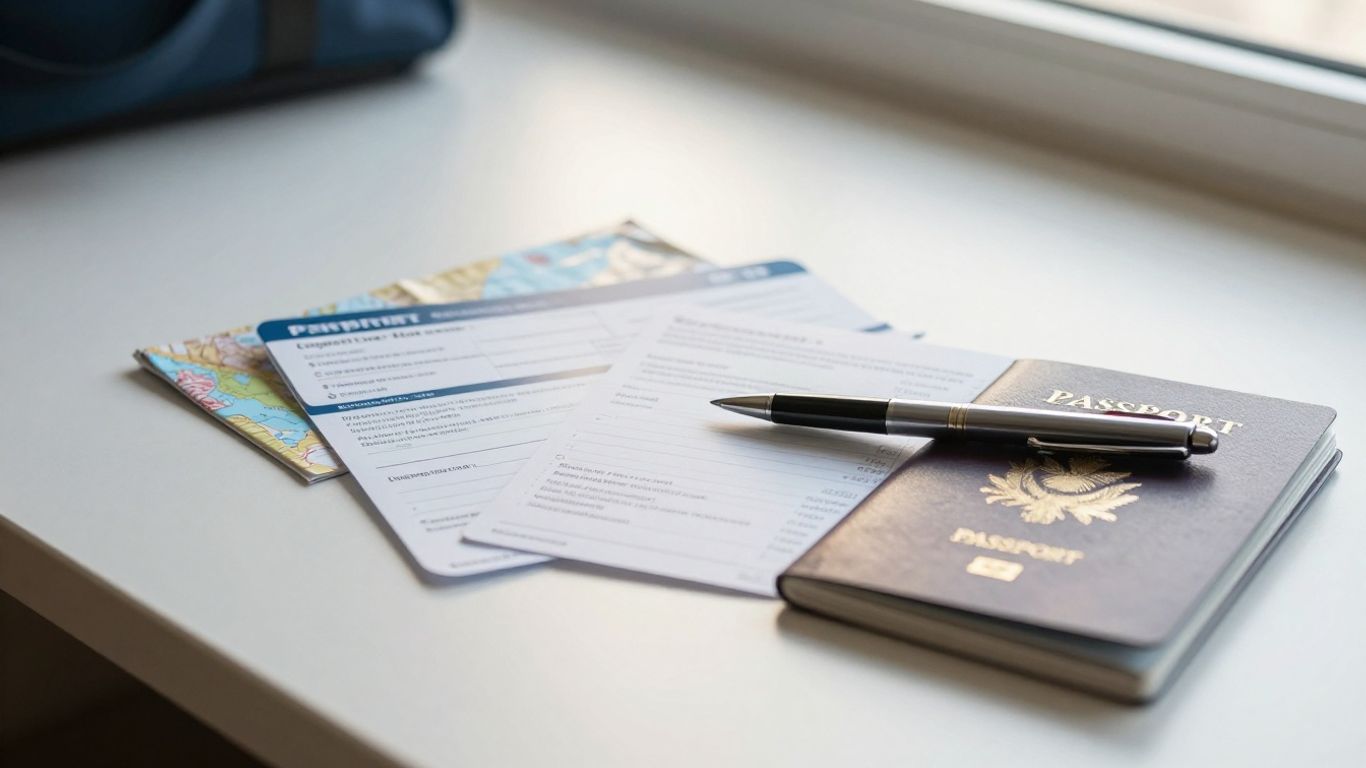 Travel documents beside a U.S. map
B-1 visa for business travel
The B-1 category is intended for certain temporary business activities, such as attending meetings or conferences and conducting permitted business discussions. It does not generally authorize ordinary employment in the United States. Applicants should describe the business purpose precisely and explain who is paying for the trip.
Supporting material might include an invitation, meeting schedule, employer letter, or evidence of the commercial relationship, when relevant. These documents should support the explanation rather than introduce a different purpose. The key is to show a temporary visit within the boundaries of the category.
B-2 visa for tourism and visiting family
The B-2 category is used for temporary tourism, visiting relatives or friends, and other qualifying personal travel. Applicants should be able to explain the destination, approximate dates, accommodation, and activities without presenting an unnecessarily elaborate itinerary. Visiting family does not remove the need to establish that the trip is temporary.
Plans can remain flexible, especially for a longer holiday, but the broad shape of the journey should be credible. If you expect to stay in a private home, carry the host’s address and contact details. That information should match what you write in the application and say at the interview.
Combined B-1/B-2 visitor visa
Many travelers apply for a combined B-1/B-2 visitor visa when they may take both permitted business and personal trips. The combined category can be practical for someone whose travel needs change over time, but each individual visit must still comply with the rules. Holding the visa does not authorize activities outside its scope.
Explain the immediate trip honestly, even if you hope to use the visa for other qualifying visits later. Consular officers assess the application before them, and vague answers can create avoidable doubt. A combined visa is useful only when the traveler’s activities genuinely fit the visitor categories.
Other visas for study, work, transit, or medical treatment
Study, employment, transit, and medical treatment may require categories other than B-1 or B-2. The correct choice depends on the institution, employer, program, treatment, and other facts. Review the relevant U.S. visa policy information before completing an application, particularly if your trip has a specialized purpose.
Do not choose a visitor visa because it appears simpler if the planned activity is study or work. A mismatch can lead to refusal or difficulties at the port of entry. When the purpose is unusual or combines several categories, professional immigration advice may be worthwhile.
Check the requirements before applying
Preparation is easier when you separate documents into identity, purpose, finances, and personal circumstances. Requirements can differ by location and visa category, so use the instructions for the embassy or consulate handling your application. A tidy file also makes it easier to answer questions consistently.
Passport validity and blank-page requirements
Use a valid passport and check the validity rules that apply to your nationality and itinerary. Some destinations you transit through may impose their own validity requirements, even when the United States does not require the same period. Check that your passport details match every application and travel record.
Confirm whether your local post requires a blank page, a particular passport format, or additional validity beyond the planned stay. If renewal is sensible, complete it before submitting the DS-160. Replacing a passport later may also require updating travel authorization or carrying evidence linking old and new documents.
Proof of travel purpose and planned activities
Your application should make the purpose of the visit easy to understand. A short itinerary, accommodation details, invitations, conference information, or an employer letter may help, depending on the trip. Do not manufacture reservations or documents merely to make the file look fuller.
The strongest evidence is usually relevant and consistent. Dates should align across the DS-160, invitation letters, leave approval, and interview answers. If arrangements are provisional, describe them as provisional rather than presenting them as confirmed.
Evidence of funds, employment, and ties to your home country
Applicants may be asked to show how they will pay for the trip and why they are likely to return home. Bank statements, payslips, employment letters, business records, school enrollment, family responsibilities, or property documents can provide context. No single item guarantees approval; the officer considers the circumstances together.
The following preparation steps can keep the evidence focused:
- Gather recent financial records that you can explain.
- Obtain a letter confirming your role and approved leave, if employed.
- Organize evidence of ongoing study, business, or family commitments.
- Prepare a simple budget matching the length and style of the trip.
These materials should support what you already say, not replace a clear explanation. Excessive paperwork can obscure the central facts, so bring relevant originals or copies as the local instructions require.
Additional documents for minors and special circumstances
Children may need birth certificates, parental consent, custody documents, or evidence explaining who will accompany them. Applicants with previous immigration issues, criminal records, medical concerns, or unusual travel histories may need additional documentation. The exact requirements depend on the facts and the processing post.
Translate documents when the consulate requires it, using the specified format. Keep copies of anything submitted and note where originals must be presented. If a document is unavailable, be prepared to explain why rather than quietly leaving a gap in the story.
Complete the U.S. visa application
The application process combines an online form, fee payment, appointment scheduling, and an interview. Small errors can create confusion, especially when names, dates, passport numbers, or previous travel are involved. Work slowly and save confirmations as you move through each stage.
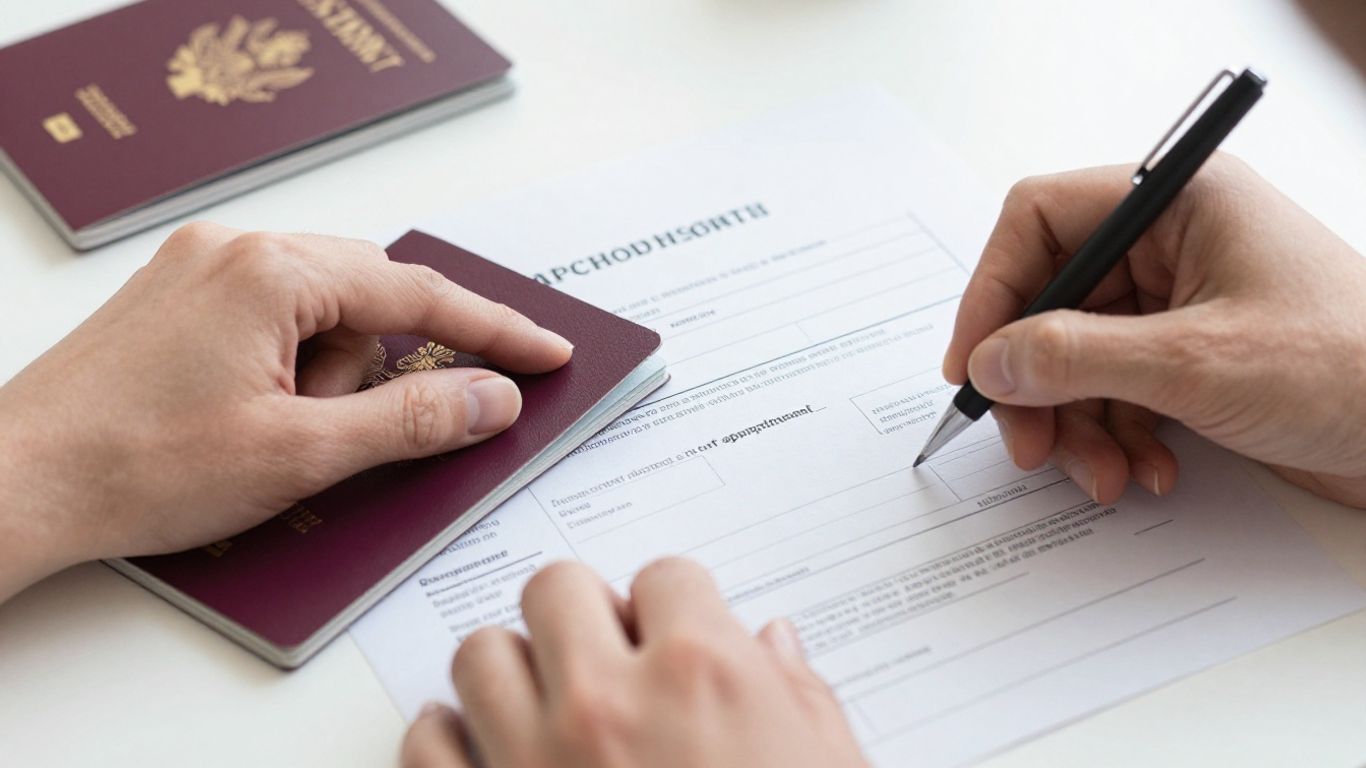 Applicant organizing visa forms and passport
Fill out Form DS-160 accurately
Form DS-160 asks for personal information, travel plans, work and education history, and other background details. Complete it in the manner required by the official system, using your passport and records rather than memory when dates matter. Review every answer before submitting and save the confirmation page.
A typo is not automatically fatal, but unexplained contradictions can be difficult. Make a private copy of your answers so you can refer to them during preparation. If your circumstances change materially after submission, follow the local post’s instructions rather than improvising at the interview.
Pay the application fee and create a scheduling profile
After completing the form, follow the instructions for paying the applicable fee and creating the appointment profile used in your location. Payment methods and scheduling systems vary by country. Keep the receipt or confirmation number in a place you can access easily.
Fees are generally associated with processing and may not be refundable simply because a visa is refused. Check the current amount and local payment instructions before transferring money. The U.S. visa application guide can help you find the relevant online process, though local instructions remain controlling.
Book the biometrics appointment and visa interview
Some applicants attend a biometrics appointment before the consular interview, while the exact sequence depends on the country and post. Follow the appointment profile carefully and arrive with the documents listed in the confirmation. Missing an appointment can cause additional delay or require rescheduling.
Choose dates that allow enough time to prepare and avoid locking in travel before the application is decided. Appointment availability changes, and urgent slots may have specific evidence requirements. Check the embassy or consulate website for current instructions rather than relying on an old checklist.
Prepare translations, photographs, and supporting documents
Photographs must meet the required specifications, and supporting documents should be arranged so they can be found quickly. Translations may need certification or a translator’s statement, depending on the document and local rules. Bring the DS-160 confirmation, appointment information, passport, fee evidence, and category-specific materials.
A neat folder is useful, but do not hand over every paper without being asked. Answer the question first and provide supporting evidence when it clarifies the answer. This makes the meeting more direct and reduces the chance that an important document is buried among irrelevant items.
Prepare for the visa interview
The interview is usually brief, so preparation should focus on clarity rather than memorized speeches. The officer is trying to understand your circumstances, purpose, and plans. Speak for yourself, answer truthfully, and ask for clarification if you do not understand a question.
Common questions consular officers ask
Questions often concern the purpose of the trip, planned dates, accommodation, employment, finances, family in the United States, and previous travel. The officer may also ask who is paying and what you expect to do after returning home. There is no reliable set script, because questions depend on the application.
Review your DS-160 and supporting records beforehand. Short answers are fine when they fully address the question, but one-word replies can sound evasive when context is needed. Never guess at a date or relationship; say so and explain how you can verify it.
How to explain your itinerary clearly
Describe the trip in a simple order: where you will go, why you are going, how long you will stay, and where you will stay. You do not need to narrate every restaurant or attraction. A coherent outline is more persuasive than an overpacked schedule that you cannot explain.
If you are visiting several cities, know the approximate sequence and transportation plan. If a friend or relative is hosting you, know their address and relationship to you. The itinerary should be plausible for your budget, leave entitlement, and available time.
Demonstrating your intention to return home
Temporary travel requires a credible reason to return after the visit. Employment, education, a business, close family responsibilities, or other established commitments may help explain that intention. Discuss these facts plainly, without treating one document as a guarantee.
Your answer should connect your life at home with the proposed dates. For example, explain when work resumes or when a course continues. The goal is not to claim that you will never visit again, but to make the temporary nature of this trip understandable.
Mistakes that can weaken your application
Common problems include inconsistent dates, unclear funding, overstated plans, missing answers, and documents that do not support the stated purpose. Buying expensive tickets before a decision can also create unnecessary financial risk. Consistency matters more than volume when you assemble an application.
Avoid coaching yourself into unnatural answers or hiding prior refusals. Do not argue with the officer, offer irrelevant paperwork, or present another person’s plans as your own. A calm, accurate explanation gives the application its best chance of being understood.
A short preparation video may help you rehearse the order of your itinerary and identify gaps, but it cannot predict an individual decision. Use current official instructions for the final word on documents and procedure.
Understand visa decisions and processing times
After the interview, the application may be approved, refused, or placed into further administrative processing. Timing differs by location, season, category, and individual circumstances. Avoid making travel arrangements that depend on a visa arriving by a date that has not been confirmed.
What happens after the interview
The officer may keep your passport for visa issuance or return it while requesting additional material. Follow the instructions you receive and check the designated passport-return method. The status shown online may take time to change after the interview.
Do not interpret a friendly interview or document request as a promise of approval. The formal decision and any written instructions control. If the consulate asks for more evidence, send exactly what is requested and retain proof of delivery.
Administrative processing and possible delays
Administrative processing means that additional review is needed before a final decision can be completed. It can result from case-specific checks or a request for further information, and the duration is not uniform. Avoid repeated inquiries that do not add information, but monitor the official status and follow any stated instructions.
Keep your contact details current and be cautious about travel deadlines. If your passport is returned during processing, verify whether it must be resubmitted later. A delayed case is not automatically a refusal, but it should be treated as unresolved until the official outcome is issued.
What to do if your visa is approved
Check the visa as soon as you receive your passport. Confirm that your name, date of birth, visa class, expiration date, and number of entries appear correct. If something looks wrong, contact the issuing post before traveling.
Approval is the moment to finalize practical arrangements, not to assume every entry detail is settled. Carry the documents that explain your trip and review airline and transit requirements. For accommodation, some travelers choose a local home exchange through SwappaHome, while others make conventional arrangements; either way, keep the address available for arrival questions.
Options after a refusal or denial
A refusal does not always mean that a traveler can never qualify, but the next step depends on the legal basis and the facts. Read the explanation provided, correct genuine weaknesses, and consider whether circumstances have materially changed before reapplying. Repeating the same application without addressing the reason for refusal is rarely helpful.
Some cases have review or waiver options, while others do not. Because the consequences vary, qualified immigration advice may be appropriate. Be truthful about previous refusals in every future application.
Plan your trip after receiving a U.S. visa
A visa is only one part of a safe travel plan. Before departure, check the document details, confirm where you will stay, and keep copies of key records separately from the originals. It is also sensible to review current entry advice shortly before leaving, since requirements can change.
Check the visa expiration date and permitted entries
Look at the visa foil for its expiration date, category, and entries notation. The expiration date is generally the last date on which you may seek admission using that visa, not necessarily the date by which your trip must end. The authorized period of stay is determined separately at entry.
If the visa allows one entry, it may not support a later return after leaving the United States. Check these details before planning a multi-country itinerary. A passport renewal does not automatically transfer a visa, so ask the relevant authorities what to do if the visa remains in an old passport.
Understand the difference between a visa and admission
A visa allows you to travel to a U.S. port of entry and request admission; it does not guarantee that admission. A Customs and Border Protection officer makes the decision after reviewing your documents, answers, and circumstances. The officer also determines how long you may remain.
This distinction matters when planning return flights, accommodation, and onward travel. Follow the date and conditions recorded for your admission rather than assuming the visa’s expiration date is your departure deadline. Current tourist travel guidance can provide useful background for common visitor scenarios.
Prepare for inspection at a U.S. port of entry
Keep your passport, visa, address, return or onward details, and basic itinerary accessible rather than packed in checked baggage. Answer questions directly and declare items as required. Inspection may include questions about the purpose and length of your visit.
Make sure your answers remain consistent with the application. If your plans changed after approval, explain the change honestly and carry any useful evidence. Admission can be refused if authorities conclude that the traveler is seeking a different status or has provided inaccurate information.
Keep travel records and follow the terms of your stay
Save your admission record, departure details, and copies of important documents. Leave by the authorized date and do not work, study, or otherwise engage in activities that your status does not permit. An overstay or status violation can affect future travel.
For longer visits, track the date carefully instead of relying on memory. A home exchange can make a stay feel more local: affordable U.S. home exchange describes credit-based accommodation and real homes, but it does not change immigration requirements. Your lodging choice must remain separate from your obligation to follow the terms of admission.
Conclusion
Getting a visa for travel to United States is a process of matching the trip to the right authorization, documenting the facts clearly, and allowing enough time for review. Check official requirements, keep every answer consistent, and remember that a visa supports a request for admission rather than guaranteeing it. Careful preparation makes the journey more predictable from the first form to the border inspection.
Frequently Asked Questions
Do all travelers need a visa for travel to United States?
No. Eligible travelers may use the Visa Waiver Program with approved ESTA authorization, while others may need a visitor visa or a different visa category. The answer depends on nationality, purpose, and circumstances.
How long can I stay in the United States with a visitor visa?
The visa’s validity and the length of each permitted stay are different matters. A CBP officer determines the authorized stay when you arrive, so follow the date recorded in your admission information.
Can I use a B-2 visa for business meetings?
Certain business activities may fit B-1 or a combined B-1/B-2 visa, but a B-2 visa is intended for qualifying tourism and personal travel. Describe the real purpose of the trip and use the category that matches it.
Is ESTA the same as a U.S. visa?
No. ESTA is an electronic travel authorization for qualifying Visa Waiver Program travel. It does not function as a visa and does not guarantee admission at the border.
Do I need confirmed flights before applying?
Usually, applicants should avoid making nonrefundable travel commitments before a decision. You can explain a planned itinerary using approximate dates and intended arrangements where the application instructions allow it.
What should I bring to a visa interview?
Bring your passport, DS-160 confirmation, appointment information, fee evidence, photograph if required, and relevant supporting documents. Follow the instructions of the embassy or consulate handling your case.
Can I reapply after a visa refusal?
Often, a person may reapply, but the sensible timing and approach depend on the refusal reason and whether circumstances have changed. Review the written explanation and provide accurate information in any later application.

Published by
SwappaHome
SwappaHome Editorial Team
Home Exchange & Slow Travel Editorial
The SwappaHome Editorial Team brings together travel research, home-exchange community insights, and platform data to produce practical guides for first-time and experienced home swappers. Every article cites real platforms, current market rates, and verifiable city-level facts so readers can make informed decisions without guessing.
Ready to try home swapping?
Join SwappaHome and start traveling by exchanging homes. Get 7 free credits when you sign up!