
Create Your Personalized 'My Travel Map' to Document Every Adventure
SwappaHome Editorial Team
Home Exchange & Slow Travel Editorial
Here are the main things to remember when you're setting up your own travel map: Key Takeaways Pick a theme and personal touches, like quotes or names, to make…
Here are the main things to remember when you're setting up your own travel map:
Key Takeaways
- Pick a theme and personal touches, like quotes or names, to make your map unique.
- Use different colors and icons to organize places and show what's important.
- Add photos and notes to your map to really capture the memories of each trip.
- Organize your map by areas or types of places to make planning easier.
- You can share your map with friends and use it on your phone too.
Designing Your Personalized My Travel Map
Alright, let's talk about making your travel map truly yours. This isn't just about slapping pins on a world map; it's about creating a visual story of your adventures. Think of it as your personal travel diary, but way cooler and much more colorful.
Choosing a Theme for Your Map
First off, what's the vibe you're going for? A theme can really tie everything together. Are you a minimalist who likes clean lines and simple markers? Or maybe you're all about that vintage explorer look, complete with sepia tones and old-school fonts? You could even go for something super specific, like a map dedicated to all the national parks you've visited or every beach you've ever dipped your toes into. The theme sets the stage for your entire map's aesthetic.
Incorporating Inspiring Quotes
Words have power, right? Adding a quote can give your map an extra layer of meaning. It could be something that speaks to your wanderlust, a reminder of why you travel, or even a funny travel-related saying. Some people like to put these at the top or bottom of the map. Just make sure it's something you'll still love looking at years from now. You don't want a quote that feels dated or irrelevant.
Adding Names and Dates for a Personal Touch
This is where it gets really personal. You can add your name, your family's name, or even the names of travel buddies. If it's a gift for a couple, maybe their names and wedding date? It makes the map uniquely yours and a great conversation starter. It's a nice way to track your personal journey, or your family's journey, over time. For instance, you could have a section like:
| Traveler | Color Code |
|---|---|
| Alex | Red |
| Maria | Blue |
| Family Adventures | Green |
Remember, the goal is to create something that brings you joy every time you look at it. It should reflect your personality and your travel style. Keep it simple if that's your thing, or go all out with intricate details. It's your map, after all!
Customizing Your My Travel Map Experience
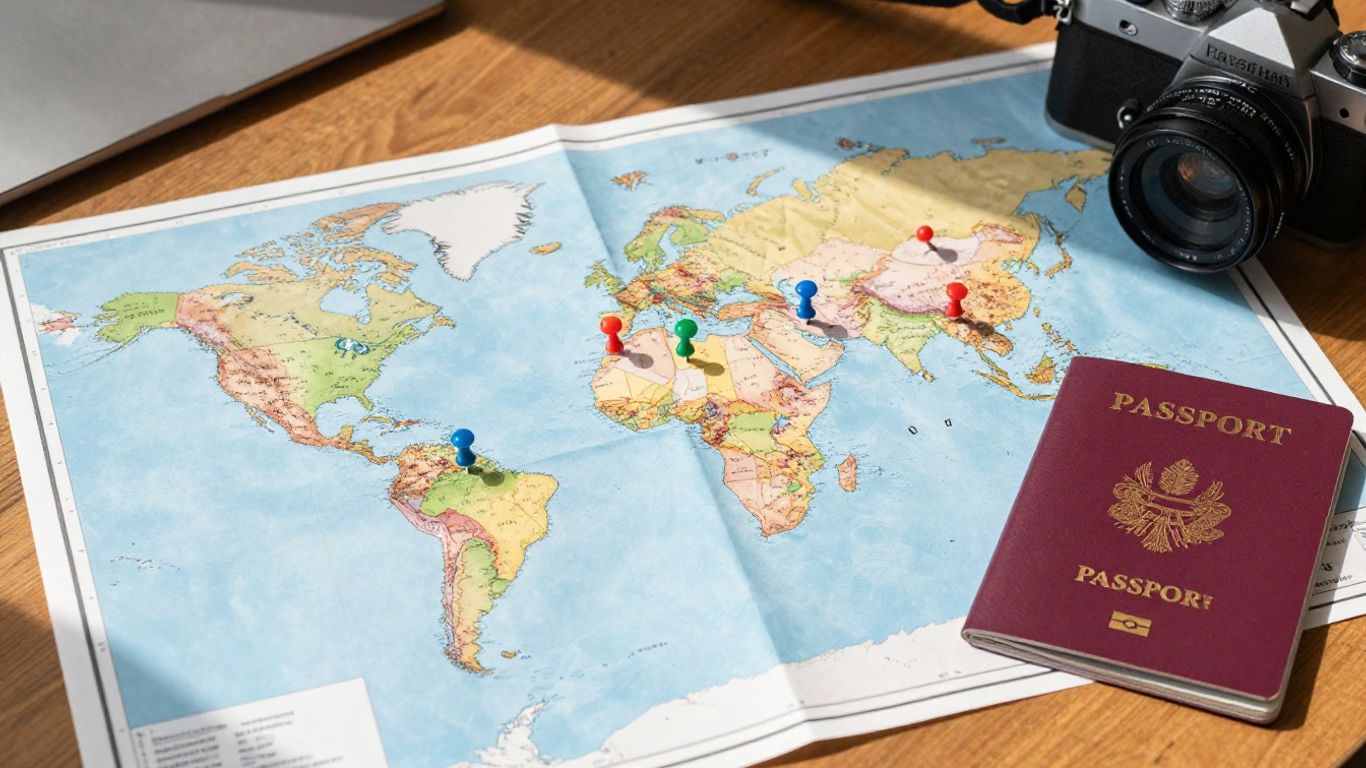 Personalized travel map with pins and travel items.
Alright, so you've got the basic map set up, but now it's time to really make it yours. This is where the fun really begins, turning a generic map into a personal adventure log. Think of it like decorating your travel journal, but on a much bigger, more visual scale.
Utilizing Legends for Family Adventures
If you're mapping out trips with the whole crew, a custom legend can be super handy. Instead of just generic pins, you can assign different symbols or colors to represent who's been where or what kind of activity it was. For instance, maybe a little airplane icon means a flight, a tiny tent means camping, and a specific color pin shows a place a particular family member loved. This way, everyone can quickly see the story of your family's travels at a glance. It makes looking back at old trips a lot more engaging, especially for the kids. You can even use this to plan future trips, making sure everyone gets a say in where you go next. It’s a great way to keep track of shared memories and plan new ones together. You can find some cool ideas for planning family trips on TraveledMap.
Differentiating Visited and Future Destinations
This is a big one for keeping your map useful. You don't want to accidentally plan a visit to a place you've already been, right? So, setting up a clear system is key. A simple way to do this is with color-coding. Use one color, say, a bright green, for all the places you've already explored. Then, pick a different color, maybe a cool blue, for all the spots still on your bucket list. This visual distinction makes it super easy to see your progress and what's still waiting for you. It’s also great for when you’re planning your next big trip; you can easily see which new places you can add to your itinerary without overlapping with past adventures. It helps keep the planning process organized and exciting.
Adding Personal Greetings and Messages
Beyond just marking places, you can add a personal touch that really brings your map to life. Imagine clicking on a pin for a city you visited and seeing a little note you wrote yourself, like "Best gelato ever!" or "The view from here was breathtaking." These little messages act as personal breadcrumbs, reminding you of the feelings and specific moments associated with each location. It’s like having a mini-journal attached to every spot on your map. This is especially useful if you're using a service that allows you to share your map, as it adds a layer of personal narrative that others might not understand otherwise. It’s these small details that transform a map into a cherished collection of memories, making it more than just a collection of pins. It’s your personal travel story, told your way.
Making your map unique is all about adding those personal touches that speak to your individual experiences and preferences. It's not just about where you've been, but how those places made you feel and what you learned along the way. These customizations are what make your map a true reflection of your journey.
Enhancing Your My Travel Map with Multimedia
So, you've got your map all set up with pins and maybe even some color-coding. That's great! But honestly, just having dots on a map doesn't quite capture the feeling of a place, does it? That's where multimedia comes in. It’s like adding the soundtrack and the movie clips to your travel story.
Attaching Photos and Videos to Locations
This is probably the most obvious way to bring your map to life. Instead of just remembering you went to that little cafe in Paris, you can actually see the photo of your croissant and coffee right there on the map. It’s a fantastic way to jog your memory about specific moments. You can attach photos and videos taken nearby, making it super easy to relive those favorite moments. It’s like having a digital scrapbook tied directly to the places you visited. This feature really helps preserve the essence of your experiences [e04b].
Adding Detailed Notes and Journal Entries
Beyond just pictures, think about the stories! Maybe you had a hilarious conversation with a local, or you discovered a hidden gem down a side street. Jotting down notes for each pin is key. You can add little anecdotes, thoughts, or even future plans related to that spot. It turns your map from a simple locator into a rich travel journal. Some apps even let you write longer journal entries, so you can really capture your thoughts and feelings about a place.
Leveraging Multimedia for Memory Preservation
Ultimately, all these multimedia additions are about making your memories last. It’s easy to forget the little details after a while, right? Having photos, videos, and notes attached directly to your map locations means you have a detailed record. You can look back and see not just where you were, but what you saw, heard, and felt. It’s a powerful way to keep your travel experiences vivid and accessible for years to come. This is a great way to organize photos by location and date, adding captions and details for each stop [ad2c].
Structuring Your My Travel Map for Clarity
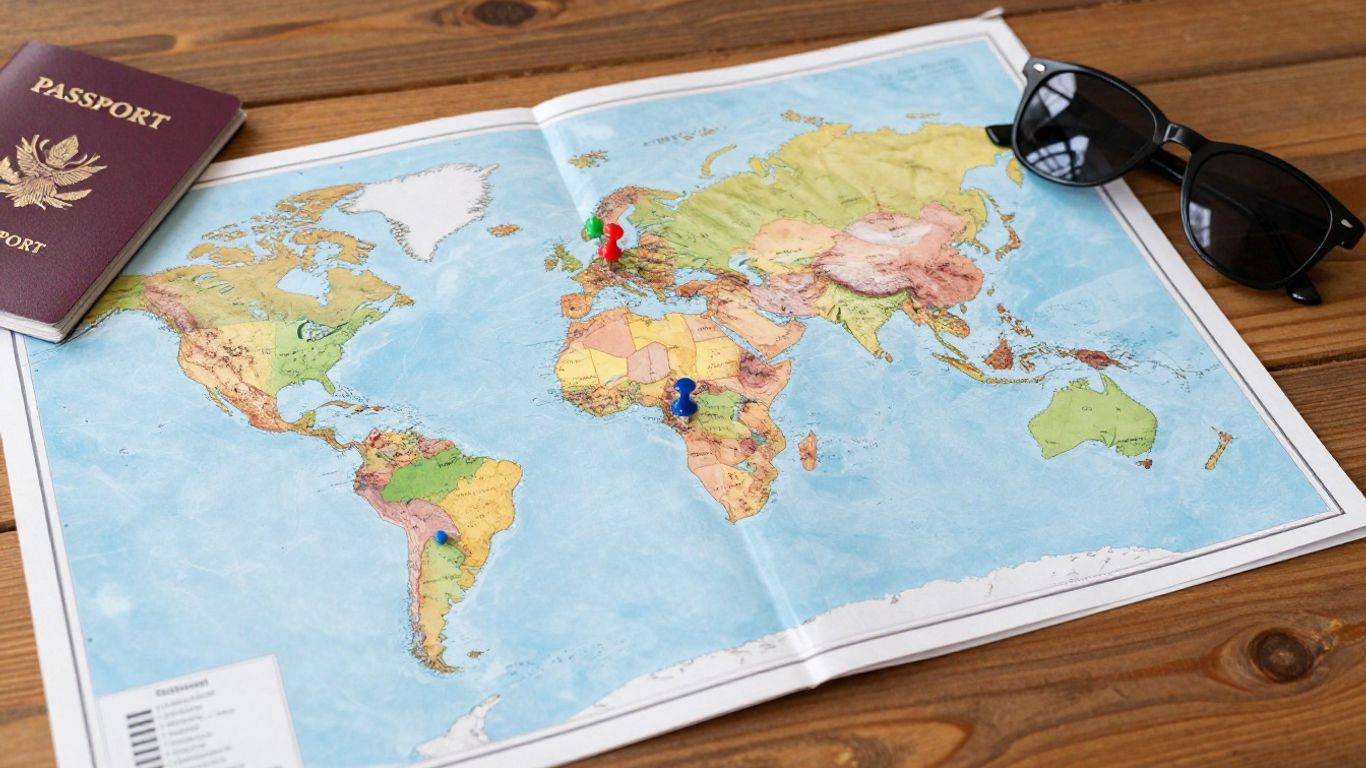 Personalized travel map with pins and travel items.
Okay, so you've got a bunch of cool places you want to see, but how do you make sense of it all? That's where structuring comes in. It's all about making your map easy to understand at a glance, so you're not just staring at a jumble of pins.
Breaking Down Your Map into Categories
First things first, let's get organized. Think about what kind of traveler you are. Are you all about the food? Museums? Hiking trails? Your interests should guide how you break things down. It's a good idea to keep your main categories to around 10, especially if you're using a tool like Google Maps, which has a limit on layers. You can always get more specific within those main groups.
Here are some common categories that work well for many people:
- Food & Drink: This can be split further into cafes, bars, and restaurants.
- Sites & Activities: Think museums, viewpoints, historical spots, or meeting points for tours.
- Accommodation: Keep track of hotels or places you're considering.
- Shopping: Markets, boutiques, or specific shops you want to check out.
Creating a layer for each category makes it super simple to find what you're looking for later. It's way easier to do this upfront than trying to sort it all out when you're already overwhelmed with planning.
Creating Layers for Different Travel Aspects
Layers are your best friend when it comes to organizing. Each category you decide on gets its own layer. So, if you're planning a trip to Italy, you might have layers for 'Must-See Churches,' 'Best Gelato Spots,' 'Day Trip Options,' and 'Our Hotel.' This way, you can toggle them on and off as needed. It's like having different filters for your adventure. This approach helps you transform your travel plans into something much more manageable.
When you start adding pins, it's tempting to just dump everything in one place. But taking a few extra minutes to assign each pin to the correct layer from the start saves a ton of time and confusion down the road. It keeps your map clean and focused.
Organizing Pins by Neighborhood and Proximity
Once you've got your categories and layers sorted, it's time to think about where things are in relation to each other. This is where you start grouping things by neighborhood or by what makes sense to do on the same day. If you have five restaurants in one area and a museum nearby, it makes sense to plan those for the same afternoon. This kind of grouping is super helpful for building an efficient itinerary and cutting down on travel time between spots. It's especially useful for road trips, helping you visualize your route and key stops.
| Category | Example Grouping |
|---|---|
| Food & Drink | All cafes within a 5-block radius |
| Sites & Activities | Museums and historical sites in the Old Town |
| Day Trips | All potential excursions within a 1-hour drive |
By looking at your map this way, you can start to see logical flows for your days. It helps you avoid zig-zagging across the city and makes your actual travel days much smoother. You can even use this to help decide where to book your accommodation, picking a spot that's central to your planned activities. This kind of detailed planning can make a big difference, especially if you're considering something like a home exchange and want to be sure your chosen location fits your itinerary.
Maximizing Your My Travel Map's Potential
So you've got your map all set up with places you want to see. That's awesome! But how do you make it even better, like, really useful? It's all about the little details that make a big difference when you're actually on your trip.
Color-Coding Pins for Importance and Type
Think of colors as your map's secret language. You can use them to quickly see what's what. For example, maybe you want to mark all the must-try restaurants in bright yellow, while coffee shops are a calming blue. Or, if you've got a long list of places, you could use red for the absolute top-priority spots you can't miss, and green for the 'if we have time' ones. It helps you make decisions on the fly without getting overwhelmed. This is super handy when you're trying to fit a lot into a short trip.
Using Icons to Highlight Key Locations
Beyond colors, icons are like tiny visual cues. A little camera icon could mean a great photo spot, a musical note for live music venues, or a fork and knife for a highly-rated eatery. It adds another layer of information at a glance. You can even use a star icon for those places that came with a personal recommendation from a friend. It makes your map more than just pins; it becomes a visual story of your interests.
Building an Itinerary from Your Map Data
This is where your map really starts to shine. Instead of just having a bunch of scattered points, you can group them logically. Look at where your pins are clustered. Are there a few great spots all within a few blocks of each other? Group those together for a single outing. This saves so much time and hassle, cutting down on unnecessary travel back and forth across town. It's a smart way to plan your days efficiently, making sure you see more and travel less. You can even get step-by-step directions for these grouped activities, which is a lifesaver when you're in a new place. Planning your trip this way can really help you create a detailed travel itinerary.
The key is to make your map work for you. Don't just add every single place you hear about. Be selective. Think about what will genuinely excite you and fit into your travel style. A well-organized map with clear visual cues will make your actual trip so much smoother and more enjoyable. It's about turning a list of places into a workable plan.
Here’s a quick way to think about organizing your day:
- Morning: Focus on pins in the northern part of the city.
- Afternoon: Explore the central district where several attractions are located.
- Evening: Head south for dinner and a show.
This kind of planning, using your map as a guide, is a fantastic way to document your journey and make the most of your time.
Sharing and Accessing Your My Travel Map
So, you've poured your heart into creating this amazing travel map, documenting every single trip and dreaming up future adventures. Now, what? It's time to make sure you and anyone else involved can actually use it, right? Sharing your map is key to collaborative planning and easy access on the go.
Collaborating with Travel Buddies
Planning a trip with friends or family? Sharing your map makes it a breeze for everyone to contribute. Imagine everyone adding their must-see spots or suggesting cool restaurants without a million back-and-forth texts. You can usually find a 'Share' button right on your map interface. From there, you can invite others by email. You'll often get to pick if they can just look (Viewer) or actually make changes (Editor). This way, everyone stays on the same page, literally.
Accessing Your Map on Mobile Devices
Nobody wants to be stuck with just their laptop when they're out exploring. Most travel map apps, like Pin Traveler, have mobile versions. This means you can pull up your map, check directions, or add a new discovery right from your phone. It’s super handy for checking that restaurant you pinned or finding your way back to your hotel. Make sure you download the app or save the web version for offline access if you'll be in areas with spotty service.
Ensuring Data Security and Privacy
When you're putting all your personal travel details out there, even just to friends, it's good to know your information is safe. Reputable travel map tools usually have clear privacy policies. They'll explain how your data is stored and who can see it. Some apps keep your data locally on your device, which offers a good level of privacy. Others use cloud storage, which is convenient for syncing across devices but means you'll want to trust their security measures. Always check the settings and policies to feel comfortable with how your travel memories are being protected.
Keeping your map accessible and secure means you can focus on the fun part: the adventure itself. Whether you're sharing plans for a big group vacation or just keeping your own travel history private, the right tools make it simple.
Conclusion
So, creating your own personalized 'My Travel Map' is more than just pinning places on a board. It's about crafting a visual story of your life's adventures, a constant source of inspiration, and a way to keep those precious memories alive. Whether you're a seasoned globetrotter or just starting to dream of faraway lands, a custom map can truly bring your travels to life. Start designing yours today and let your adventures unfold!
Frequently Asked Questions
What is a 'My Travel Map'?
A 'My Travel Map' is basically a special map you make yourself. You can mark all the cool places you've been to and also the spots you really want to visit someday. It's like a personal diary of your trips, but on a map!
How do I make my travel map personal?
You can make it personal by adding things like your name, a favorite travel quote, or even a special greeting. You can also use different colors or little pictures (icons) to show different kinds of places or how important they are to you.
Can I add pictures to my map?
Yes, you totally can! Many travel map tools let you add photos and even short videos to the places you've marked. This is a great way to remember exactly what happened there.
How can I organize my map so it's not messy?
To keep things tidy, you can break your map down into different groups, like 'Restaurants,' 'Museums,' or 'Beaches.' You can also use different colors or icons for each group. Grouping places that are close together also helps a lot.
Can my friends see or help with my travel map?
Definitely! Most map tools have a sharing feature. You can invite your friends to view your map or even help you add places and plan. It's fun to plan trips together!
Is my travel map safe if I use an app?
That's a good question. Many apps keep your map data safe on your device, meaning only you can see it. Always check the app's privacy settings to make sure your travel plans stay private.

Published by
SwappaHome
SwappaHome Editorial Team
Home Exchange & Slow Travel Editorial
The SwappaHome Editorial Team brings together travel research, home-exchange community insights, and platform data to produce practical guides for first-time and experienced home swappers. Every article cites real platforms, current market rates, and verifiable city-level facts so readers can make informed decisions without guessing.
Ready to try home swapping?
Join SwappaHome and start traveling by exchanging homes. Get 7 free credits when you sign up!