Home Exchange Photos That Get Bookings: A Complete Guide to Photographing Your Space
SwappaHome Editorial Team
Home Exchange & Slow Travel Editorial
Learn exactly how to take home exchange photos that attract guests. Real techniques, zero fancy equipment needed—just your phone and these proven strategies.
I almost didn't post my San Francisco apartment on SwappaHome.
Not because it wasn't nice—it's a cozy one-bedroom in the Mission with great light and a tiny balcony where I drink my morning coffee. The problem was my photos. They made my place look like a crime scene from a 90s detective show. Dark corners, weird angles, my unmade bed lurking in what was supposed to be a "charming reading nook."
Here's the thing about home exchange photos: they're not about having a magazine-worthy space. They're about showing real people what it genuinely feels like to stay in your home. After seven years of swapping and helping dozens of friends fix their listings, I've figured out that the difference between a profile that gets ignored and one that fills your calendar? About 45 minutes of thoughtful photography.
So let me share everything I know about capturing your space in a way that makes travelers think, "Yes. That's where I want to wake up."
Why Your Photos Matter More Than You Think
Real talk: on any home exchange platform, your photos are doing about 80% of the convincing. Your witty description? Nice bonus. Your amenity list? Helpful context. But those images are what stop someone mid-scroll and make them click.
I learned this the hard way. My first SwappaHome listing sat dormant for three months. Same apartment, same neighborhood, same me offering to water plants and share my favorite taco spots. Then I spent a Saturday afternoon retaking every photo with intention. Within two weeks, I had my first booking request. Within a month, I'd hosted three guests and earned enough credits for two weeks in Lisbon.
The thing is, home exchange photos serve a different purpose than real estate photography. You're not selling a property—you're inviting someone into your life for a week or two. That's intimate. Your photos need to communicate trust, comfort, and authenticity all at once.
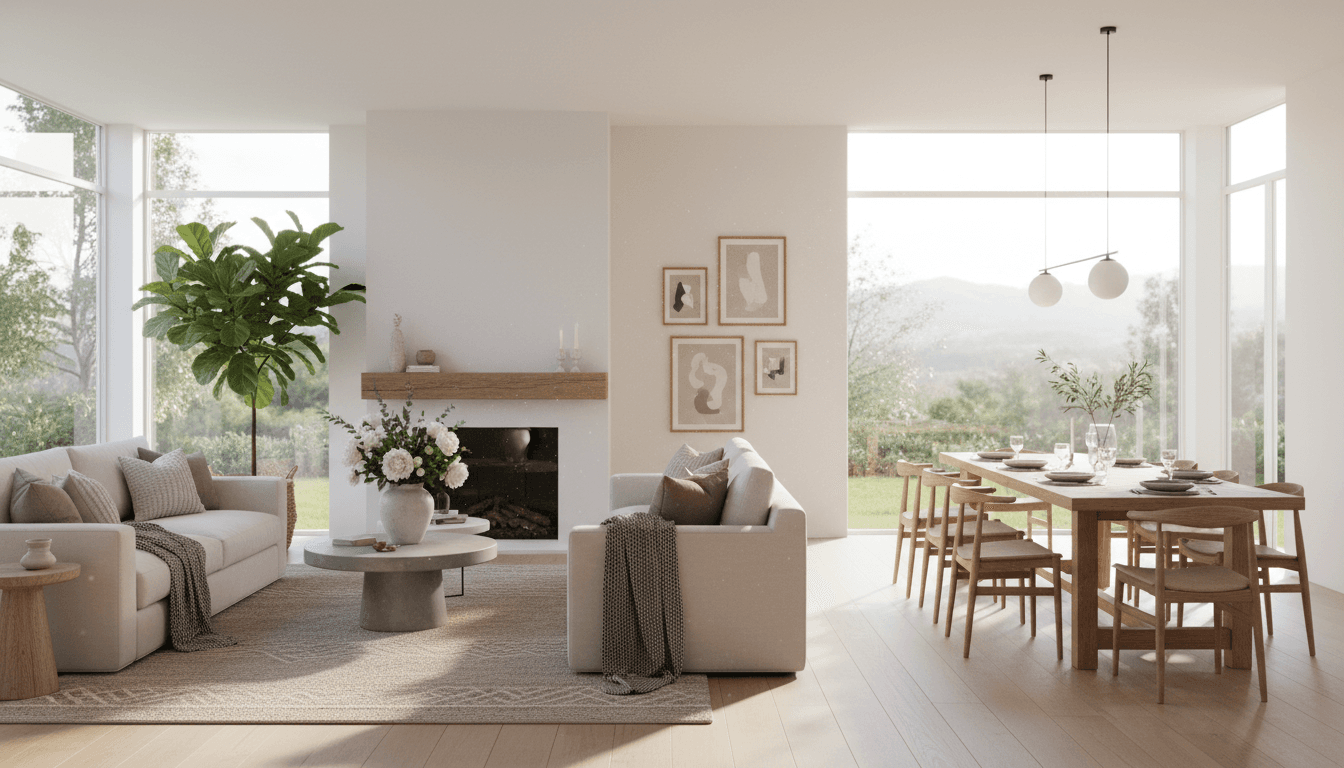
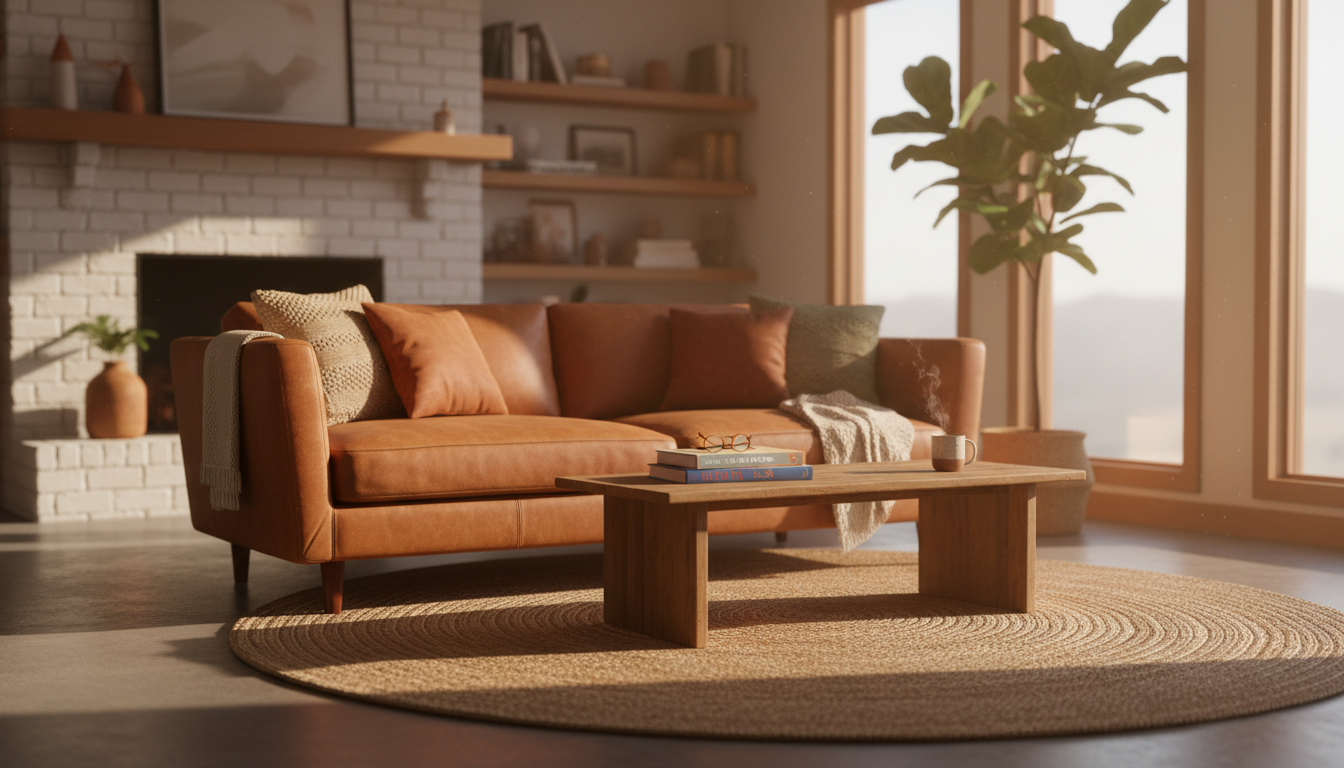 bright, airy living room with afternoon sunlight streaming through windows, a well-worn leather couc
The Equipment You Actually Need (Spoiler: It's Your Phone)
I'm going to save you $3,000 right now: you don't need a fancy camera.
Seriously. Every photo on my current listing was taken with my iPhone 12—not even the latest model. The guests who've stayed in my place have included a retired architect from Copenhagen, a food writer from Melbourne, and a young family from São Paulo. None of them asked what camera I used.
What you actually need:
A smartphone made in the last five years. The cameras on modern phones are genuinely remarkable. My friend's 2019 Samsung takes better interior photos than the DSLR I bought in 2015 and never learned to use properly.
A microfiber cloth. Fingerprints on your lens are the silent killer of otherwise great photos. I keep one in my back pocket on photo day.
A small tripod or stable surface. Not essential, but it helps for low-light situations. I use a $15 flexible tripod from Amazon that wraps around chair backs.
That's it. That's the whole list.
What About Editing Apps?
I use Snapseed (free) for minor adjustments—usually just bumping up brightness slightly and straightening crooked lines. Your phone's built-in editor works fine too.
The key word is "minor." Heavy filters make photos look fake, and potential guests can smell inauthenticity from a mile away. If your kitchen looks like it belongs in a Wes Anderson film in photos but resembles a regular kitchen in person, you're setting everyone up for disappointment.
Lighting: The Single Biggest Factor
Okay, this is where I get a little intense, because lighting is genuinely the difference between "meh" and "wow."
Natural light is your best friend. Your absolute best friend. The kind of friend who shows up with coffee when you're having a bad day.
The Golden Hours for Interior Photography
Most interior photographers swear by the "golden hour"—that soft, warm light right after sunrise or before sunset. And yes, it's gorgeous. But for home exchange photos, I've found mid-morning light (around 9-11 AM) often works better.
Why? Because that's when your space looks most like it does during normal waking hours. You want guests to imagine themselves making breakfast in your kitchen, not staging a photoshoot.
Here's my approach: I walk through my apartment at different times and note when each room looks best. My living room peaks around 10 AM when sun hits the east-facing windows. My bedroom photographs better in late afternoon when the light softens. The bathroom? Honestly, it looks best with the overhead light on and the door open to let in hallway light.
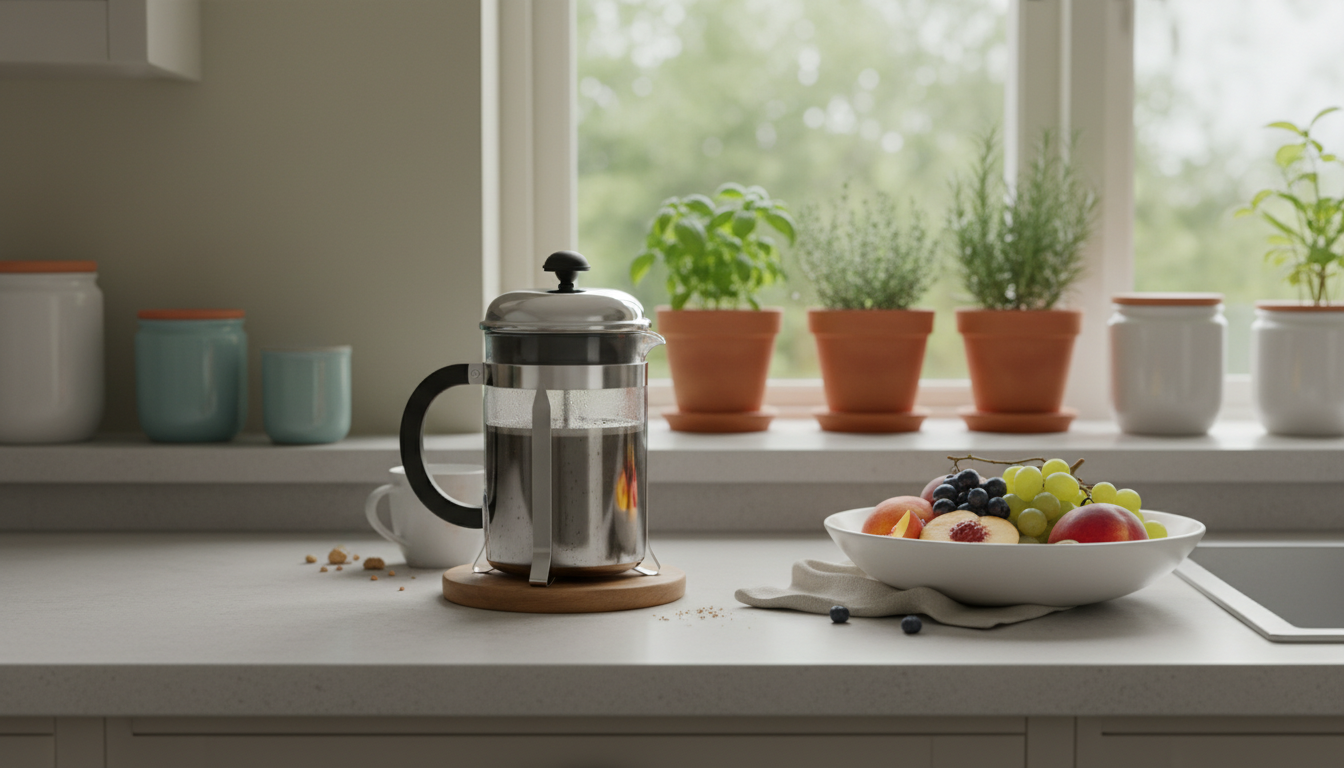 kitchen counter with morning light illuminating a French press, a bowl of fresh fruit, and a small h
Dealing with Challenging Light
Not everyone has floor-to-ceiling windows flooding their space with perfect Scandinavian light. I get it.
If your place is naturally dark, here's what helps:
Turn on every light in the room, then turn off the ones creating harsh shadows or weird color casts. Overhead fluorescents are usually the culprits—they make everything look like a hospital waiting room.
Open all blinds and curtains, even in adjacent rooms. Light bounces. A bright hallway can illuminate a dim bedroom.
Shoot toward windows rather than away from them. Sounds counterintuitive, but it often creates more balanced exposure.
If you have a room with no windows—looking at you, interior bathrooms—embrace it. Turn on your best artificial lights, maybe add a small lamp or candle for warmth. Some of my favorite bathroom shots feature a lit candle on the counter. It reads as "spa-like" rather than "windowless cave."
Room-by-Room Strategy
Every room tells part of the story. Here's how to capture each one.
Living Areas: Show How Life Happens
Your living room should feel inviting without looking staged. The trick is "tidy but lived-in."
Before shooting, I do what I call the "sweep and style." Remove obvious clutter—mail piles, random cables, that exercise equipment you swear you'll use. Then add back a few intentional items: a throw blanket draped over the couch arm, a book open on the coffee table, a plant that's actually alive.
Shoot from corners to capture the whole room, but also grab detail shots. The reading chair by the window. The record player with a vinyl sleeve nearby. These details tell guests what kind of experience they're signing up for.
Bedrooms: The Bed Is the Star
Make it properly—like, hospital corners if you can manage. Fresh sheets, fluffed pillows, maybe a folded throw at the foot.
I always photograph bedrooms from the doorway first, shooting toward the bed. This gives guests a sense of room size and layout. Then I take a shot from beside the bed looking toward the window, showing the light they'll wake up to.
One thing I've learned: show the nightstands. Guests want to know there's a place for their phone, their book, their glass of water. Empty nightstands look sad. A small lamp, a plant, maybe a clock—these signal "someone thought about your comfort."
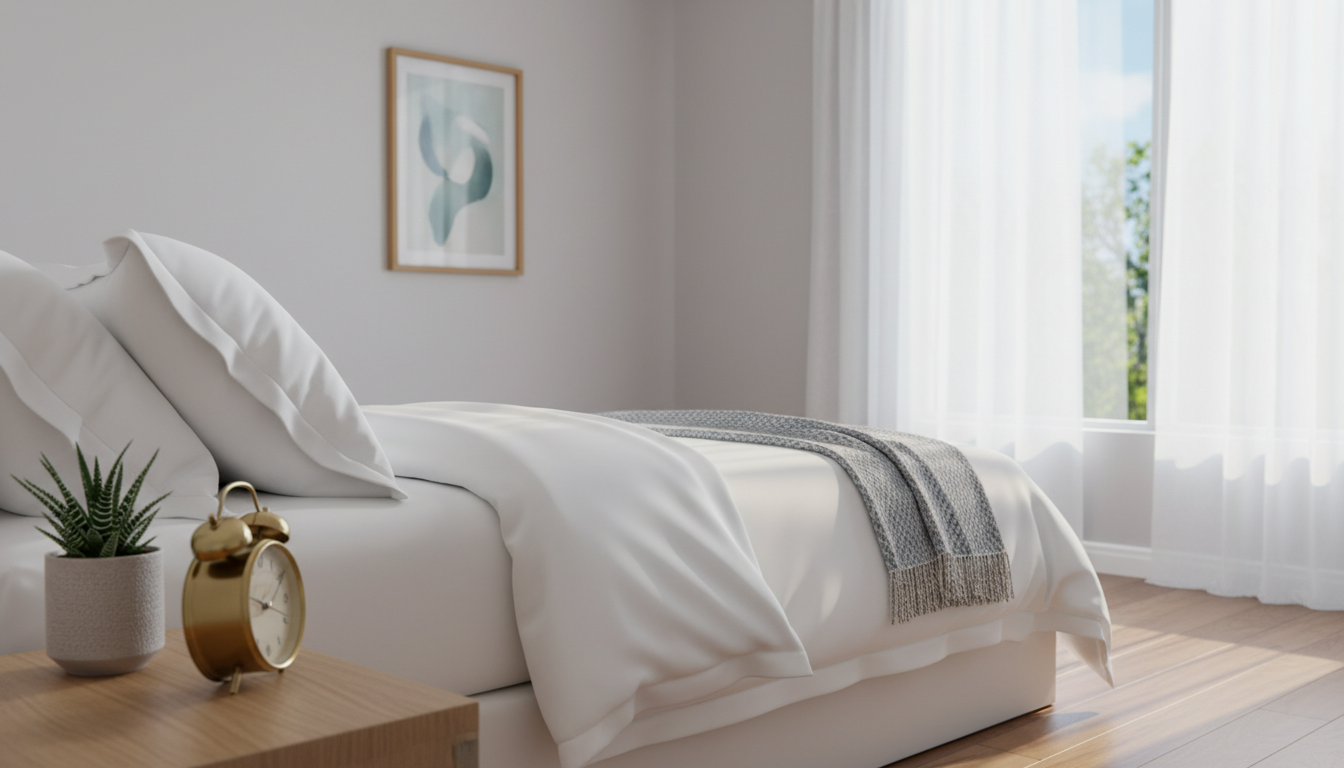 bedroom with crisp white bedding, a window showing morning light through sheer curtains, a small suc
Kitchens: Clear Counters, Visible Amenities
Kitchens photograph best when counters are mostly clear. I know, I know—where are you supposed to put your toaster and coffee maker and fruit bowl and knife block? For photos, temporarily relocate everything except one or two items that signal "this kitchen is functional and pleasant."
My go-to staging: a French press or moka pot (coffee culture is universal), a small cutting board with a lemon or some herbs, maybe a cookbook propped open. That's it.
Take wide shots showing overall layout, then close-ups of anything special—a gas range, a well-stocked spice rack, that gorgeous tile backsplash you installed yourself.
Bathrooms: Clean Is Non-Negotiable
Bathrooms are where trust is built or broken. A sparkling clean bathroom signals you take care of your space. Visible grime or clutter signals the opposite.
Before photographing: scrub everything (yes, including behind the toilet), put out fresh towels neatly folded or hung, remove all personal products—toothbrushes, razors, medications—and add one nice touch: a plant, a candle, a small tray with fancy soap.
I photograph bathrooms from the doorway to show the full space, then take a detail shot of the sink area or shower if they're particularly nice.
Outdoor Spaces: Your Secret Weapon
If you have any outdoor space—a balcony, a patio, a backyard, even a shared rooftop—photograph it like it's the main attraction. For many travelers, outdoor space is a huge differentiator.
My tiny Mission District balcony has earned me more booking requests than my living room. I photograph it in the morning with coffee, in the evening with wine, and at golden hour when the light makes everything glow.
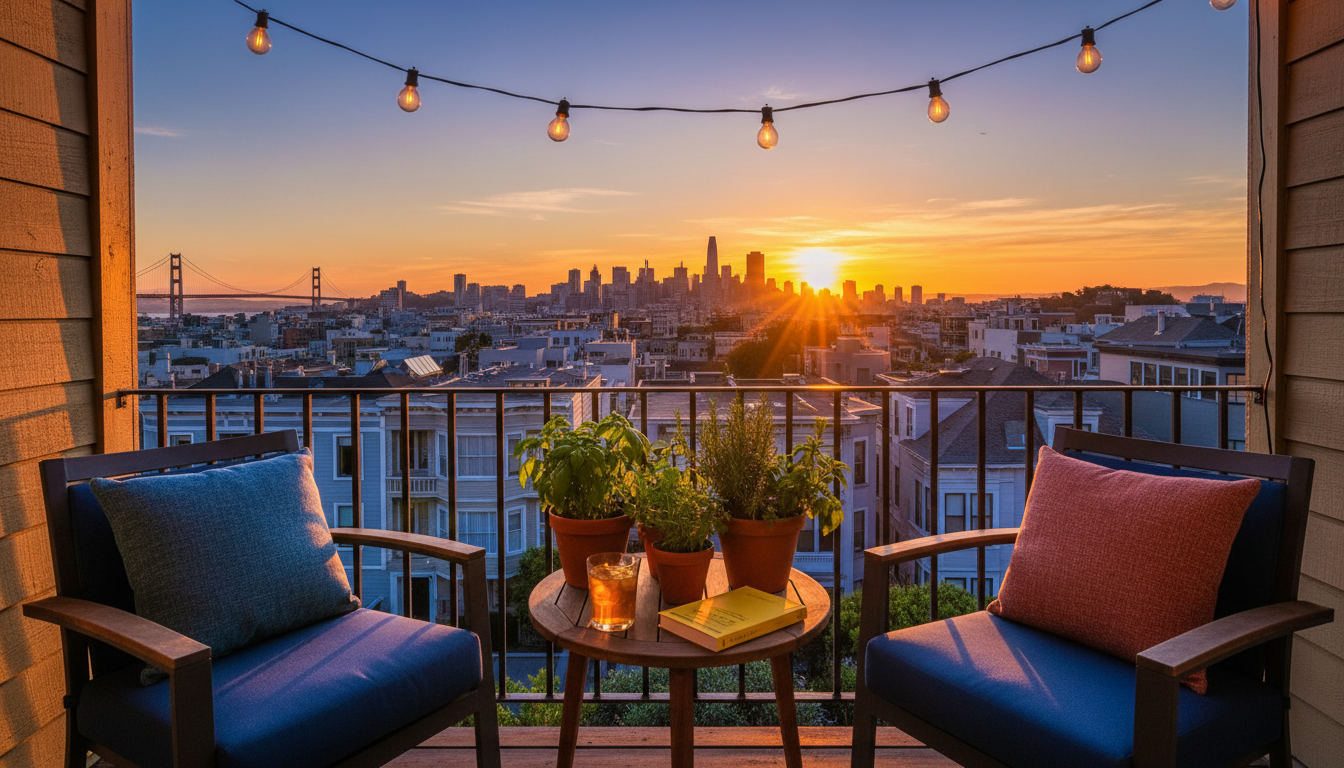 small urban balcony at sunset with string lights, two chairs with cushions, potted herbs, and a view
Composition Techniques That Actually Help
You don't need a photography degree. A few basic principles go a long way.
The Rule of Thirds
Imagine your frame divided into a 3x3 grid. Placing key elements along those lines or at their intersections creates more dynamic photos. Most phone cameras have a grid overlay—turn it on.
That said, centering works great for symmetrical spaces. A perfectly centered shot of your bed with matching nightstands? Chef's kiss.
Shoot at Hip Height or Lower
Here's a trick that instantly improves interior photos: lower your camera. Shooting from standing eye-level makes rooms look smaller and cramped. Shooting from hip height (or lower for dramatic effect) opens up the space and shows more floor, which reads as "room to move."
For kitchens and bathrooms, counter height often works well. For living rooms and bedrooms, try crouching slightly.
Embrace Depth
Photos with multiple layers feel more immersive. Instead of shooting a flat wall, position yourself to capture foreground, middle ground, and background elements.
Instead of photographing your couch straight-on against a wall, shoot from an angle that includes the corner of a side table in the foreground, the couch in the middle, and a bookshelf or window in the background.
What to Show (and What to Skip)
Transparency builds trust. But there's a difference between transparency and oversharing.
Always Show
Every room guests will access. If they're getting the whole apartment, photograph every room. If certain areas are off-limits, skip them.
The view from your windows. Even if it's not spectacular, guests want to know what they're looking at. My view is mostly the building next door, but I photograph it anyway—at least it's honest.
Any quirks that might surprise someone. Steep stairs? Photograph them. Compact shower? Show the scale. Better to set accurate expectations than deal with disappointed guests.
Consider Hiding
Personal photos and identifying documents. Not because they're embarrassing, but because some guests feel uncomfortable in a space that feels too personal. I keep family photos up but move them out of direct frame when shooting.
Valuables. If you have expensive art or electronics, you don't need to feature them prominently. Photograph the room, but maybe don't center on your rare guitar collection.
Anything you wouldn't want internet strangers to see. Your listing is public. Think about what you're comfortable sharing.
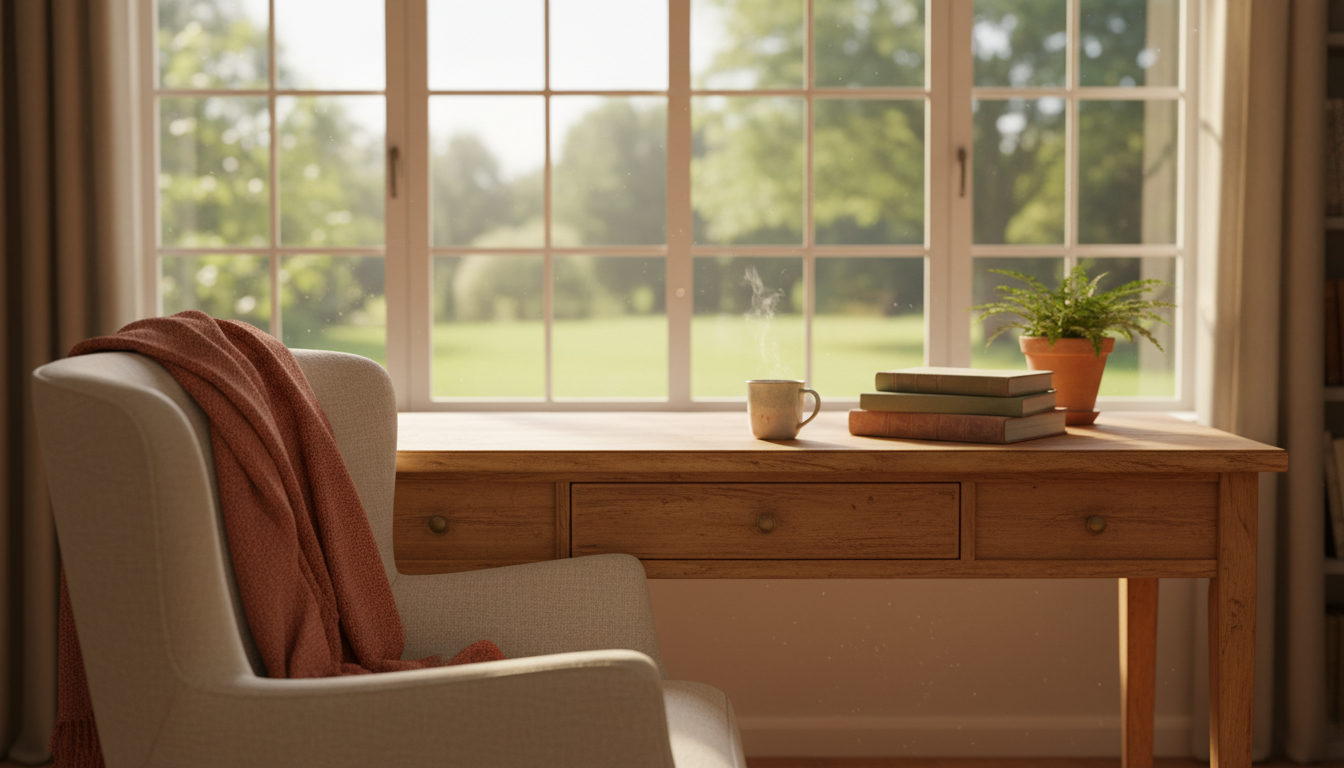 cozy home office corner with a desk by a window, a comfortable chair, good lighting, and a few books
Creating Your Shot List
Before you start shooting, make a list. This prevents the "wait, did I photograph the closet?" panic later.
Here's my standard list for a one-bedroom:
Essential shots (8-12 photos):
- Living room wide shot from two angles
- Living room detail (reading nook, window seat, etc.)
- Kitchen wide shot
- Kitchen detail (counter, appliances, or dining area)
- Bedroom wide shot
- Bedroom detail (bed close-up or window view)
- Bathroom wide shot
- Bathroom detail
- Any outdoor space
- Building exterior or entrance
Bonus shots:
- Workspace or desk area
- Storage or closets
- Laundry facilities
- Neighborhood context
- Special features (fireplace, piano, library)
For larger homes, scale accordingly. A three-bedroom house might need 20-25 photos.
Staging Secrets Nobody Talks About
Some tricks I've picked up from doing this way too many times.
The "Fresh Eyes" Walk-Through
Before shooting, leave your house for at least an hour. Get coffee, take a walk, run an errand. When you come back, enter like a guest would. What's the first thing you notice? What feels off? What delights you?
This perspective catches things you've become blind to—the shoe pile by the door, the crooked picture frame, that dead plant you've been ignoring for three weeks.
The Five-Senses Check
Photos capture visual information, but they hint at other senses too.
Sight: Is everything clean and intentionally placed?
Smell: Air out the space. Open windows. No one can smell your photos, but a stuffy room somehow looks stuffy.
Touch: Fluff cushions, smooth bedding, arrange throws invitingly.
Sound: This one's weird, but I always photograph when it's quiet. No TV, no music. It helps me focus and somehow translates to calmer-looking photos.
Taste: A bowl of fresh fruit or a nice bottle of olive oil suggests good meals to come.
The "Would I Click This?" Test
After taking your photos, look at each one and ask: if I saw this in a search result, would I want to learn more? Be ruthless. Delete anything that doesn't make you feel something positive.
Editing: Less Is More
For each photo, I make at most four adjustments:
- Straighten any crooked lines (nothing says "amateur" like a tilted horizon)
- Brighten slightly if too dark (but don't blow out highlights)
- Adjust warmth if color looks off (too blue = cold, too yellow = dingy)
- Crop to remove distracting edges
No filters. No heavy saturation. No HDR effects that make everything look radioactive.
The goal is making your photos look like your space actually looks on a good day. Not better, not worse—just accurate and appealing.
Your Photo Day Game Plan
Here's how I spend my photo day:
Night before:
- Deep clean entire apartment
- Put away all clutter
- Lay out staging items
- Charge phone fully
Morning of (9-10 AM start):
- Open all blinds and curtains
- Turn off overhead lights, turn on lamps
- Do the "fresh eyes" walk-through
- Make final staging adjustments
- Clean phone lens
- Shoot systematically, room by room
- Take 3-5 versions of each shot from slightly different angles
After shooting:
- Transfer photos to computer or cloud
- Edit lightly
- Select best 10-15 images
- Upload to SwappaHome
The whole process takes 2-3 hours, including cleaning and staging. Small investment for photos that work for you 24/7.
Common Mistakes to Avoid
After helping friends improve their listings, I've seen the same issues repeatedly.
Shooting vertical when horizontal works better. Most interior shots look better in landscape orientation. It matches how our eyes scan a room and how listings display on screens.
Including too much ceiling. Unless you have incredible exposed beams or a skylight, ceilings are boring. Tilt down to show more floor and furniture.
Photographing mirrors head-on. You'll end up in the shot. Awkward. Angle yourself to the side.
Forgetting to turn off the TV. A black screen is fine. A paused Netflix show is distracting.
Too many photos. Quality over quantity. Twelve excellent photos beat thirty mediocre ones. Guests get fatigued scrolling through endless images.
One Last Thing About Authenticity
The best home exchange photos I've ever seen weren't the most polished or professional. They were the ones that made me feel something—curiosity about the book on the nightstand, longing for that morning light, excitement about the neighborhood visible through the window.
Your home doesn't need to be perfect. It needs to be real and inviting. The families and solo travelers and couples browsing SwappaHome aren't looking for a hotel. They're looking for a home. Your home.
Show them what it actually feels like to be there. The rest takes care of itself.
Ready to put these tips into practice? Your SwappaHome listing is waiting. Those 7 free credits you got when you signed up? They're ready to take you somewhere amazing—but first, let's make sure your photos bring amazing guests to you.
Frequently Asked Questions
How many photos should I include in my home exchange listing?
Aim for 10-15 high-quality photos for a standard apartment or house. That gives potential guests enough information to feel confident without overwhelming them. Include at least one photo of every room they'll access, plus any standout features like outdoor spaces. Twelve excellent photos will always outperform thirty mediocre ones.
Do I need a professional camera for home exchange photos?
Nope. A smartphone from the last five years takes perfectly good interior photos. The key factors are lighting, composition, and cleanliness—not equipment. I've photographed my entire SwappaHome listing with an iPhone, and it's consistently booked. Focus on natural light, steady hands, and thoughtful staging rather than expensive gear.
What's the best time of day to photograph my home?
Mid-morning (9-11 AM) typically offers the best natural light for interiors. Bright but not harsh, and it shows your space as guests will actually experience it. Walk through your home at different times to note when each room looks best—some spaces photograph better in afternoon light.
Should I hire a professional photographer?
For most home exchange listings, DIY works great if you follow basic principles. Professional photographers make sense for larger or luxury properties where the investment pays off in higher booking rates. Try taking your own photos first—you might surprise yourself.
How do I make a small space look bigger in photos?
Shoot from corners to capture maximum depth, lower your camera to hip height, and use wide-angle mode if your phone has it (but don't overdo it—extreme wide angles distort reality). Clear clutter ruthlessly, use mirrors strategically, and photograph toward windows. Light, bright spaces always feel larger than dark ones.

Published by
SwappaHome
SwappaHome Editorial Team
Home Exchange & Slow Travel Editorial
The SwappaHome Editorial Team brings together travel research, home-exchange community insights, and platform data to produce practical guides for first-time and experienced home swappers. Every article cites real platforms, current market rates, and verifiable city-level facts so readers can make informed decisions without guessing.
Ready to try home swapping?
Join SwappaHome and start traveling by exchanging homes. Get 7 free credits when you sign up!
Related articles
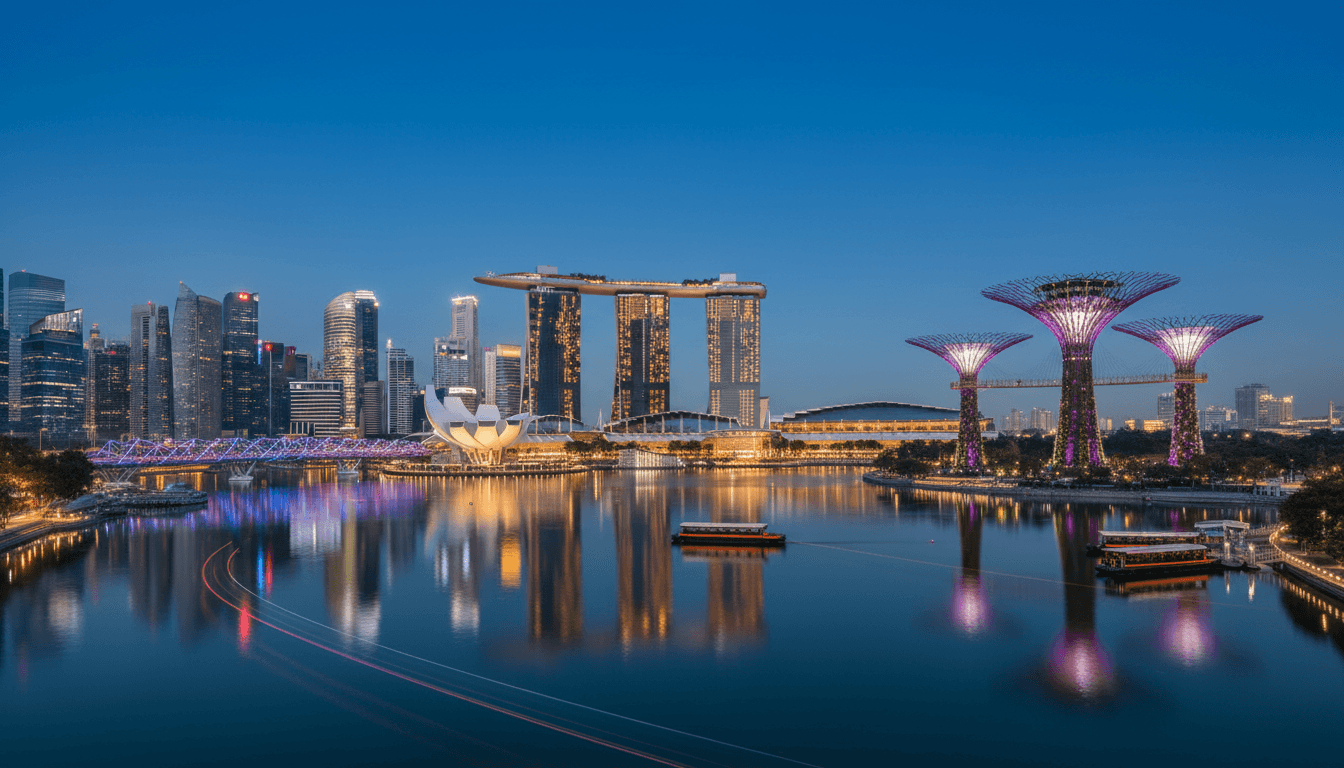
Bachelor and Bachelorette Parties in Singapore: The Complete Home Swap Group Guide for 2026
Planning a bachelor or bachelorette party in Singapore? Discover how home swapping lets groups of 6-12 stay together in luxury condos, saving thousands while partying in Marina Bay.

Cycling in Lisbon: 7 Home Swap Bike Tour Itineraries for Every Rider
Discover the best cycling routes in Lisbon with these home swap bike tour itineraries—from waterfront paths to hilltop adventures, all starting from your borrowed home.

Graduation Trip to Barcelona: How Home Swapping Gives New Graduates the Ultimate Celebration
Planning a graduation trip to Barcelona? Discover how home swapping lets new graduates explore Spain's most vibrant city without the hostel crowds or hotel costs.